Over the last few months, three sets of friends have moved – two have bought their own places (hooray!), and one has moved to a new apartment. Moving is of course a huge hassle, but at least at the end of it it can be celebrated with housewarming parties and housewarming gifts! I am not great at housewarming gifts. I’m a huge believer in minimalism and scaling down (okay, fine, everywhere except the kitchen), and I hate extra stuff and extra clutter. Add to that my uncertain sense of other people’s styles, and I become paralyzed about choosing for someone a vase or a picture frame that they’ll never use. However, throw in my ginormously outsized confidence in my own cooking, and then it becomes only natural that I resort to food gifts! I’ve become obsessed with anything that can be jarred, bottled, or frozen and given as a gift. Y’all already know that a frozen batch of cottage pie can be a great surprise for any occasion or celebration. And while fresh food is always welcome, sometimes something that can keep, that allows the new owners to use at their own speed and their own inclination, can bring happiness for weeks or months to come.
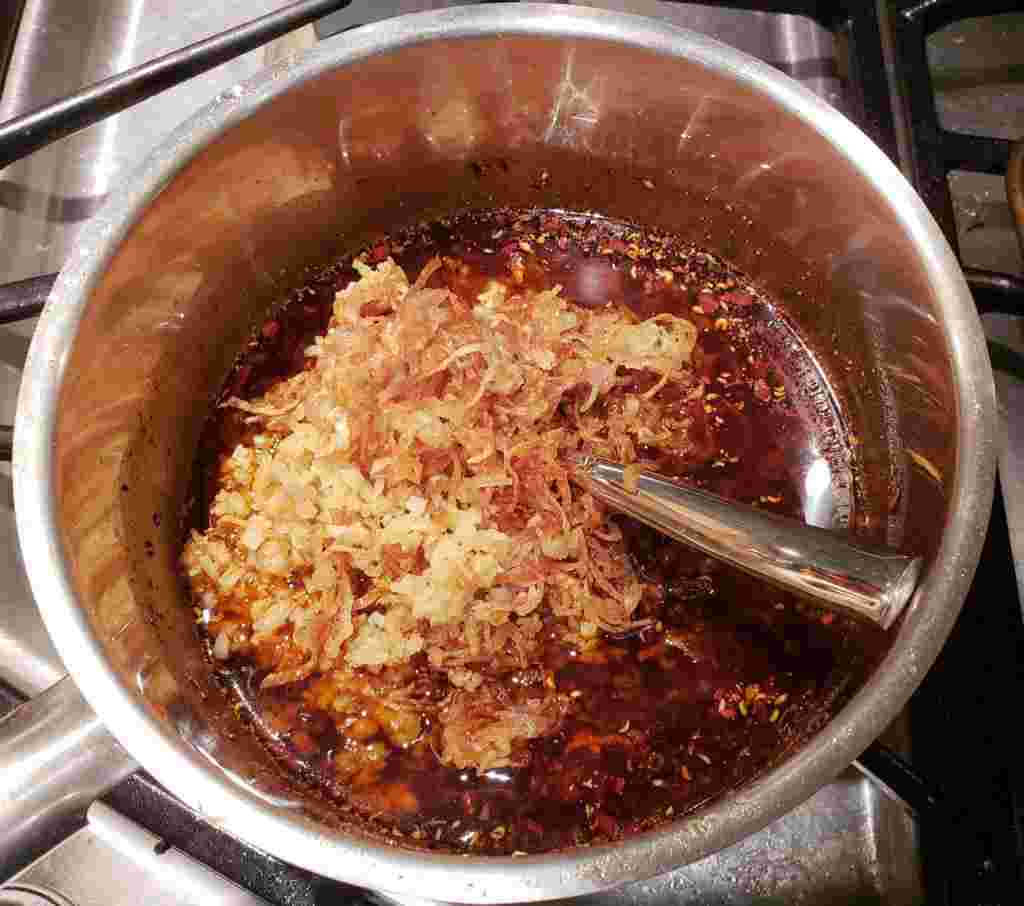
Enter, then, this amazing, fragrant, spicy, numbing, salty, crunchy, garlicky chili crisp! I became obsessed with it the moment I saw the recipe, and it did not disappoint. The name chili crisp is important, as I don’t really know how else to describe this concoction. It’s definitely not chili oil, as the amount of delicious solid things in it is mind-boggling, and the amount of oil it calls for is actually quite minimal. It’s not a paste, and it’s not really a sauce. Maybe the closest description would be sort of an East Asian chili chutney or chili relish? It’s chock-a-block with bright red chilies, a pile of spices, and a mountain of fried shallots and garlic, all held together by a deeply flavorful oil.
This chili crisp is unbelievably delicious. I adore spicy food, and I have been eating the chili crisp with everything. I stir it into rice (plain white and fried), all sorts of noodles, pasta, couscous. I’ve eaten it on top of pizza. I’ll dollop a bit on top of plain steamed vegetables. I’ve read of commenters spreading it on bread. I might spoon it into a sandwich some day. It’s only been a week or so since I’ve made this so I haven’t even fathomed all of the possibilities.
It’s also beautifully giftable. Who doesn’t like a pretty glass jar filled with bright red chilies?
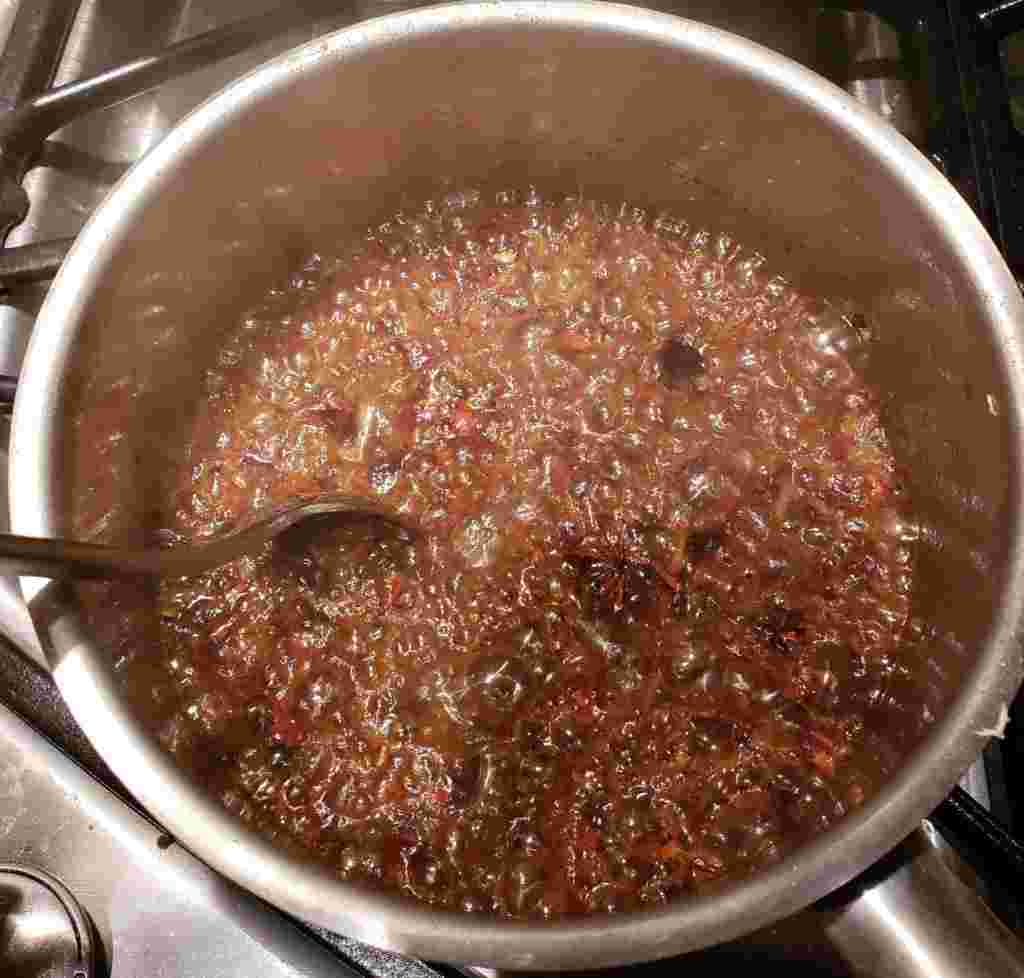
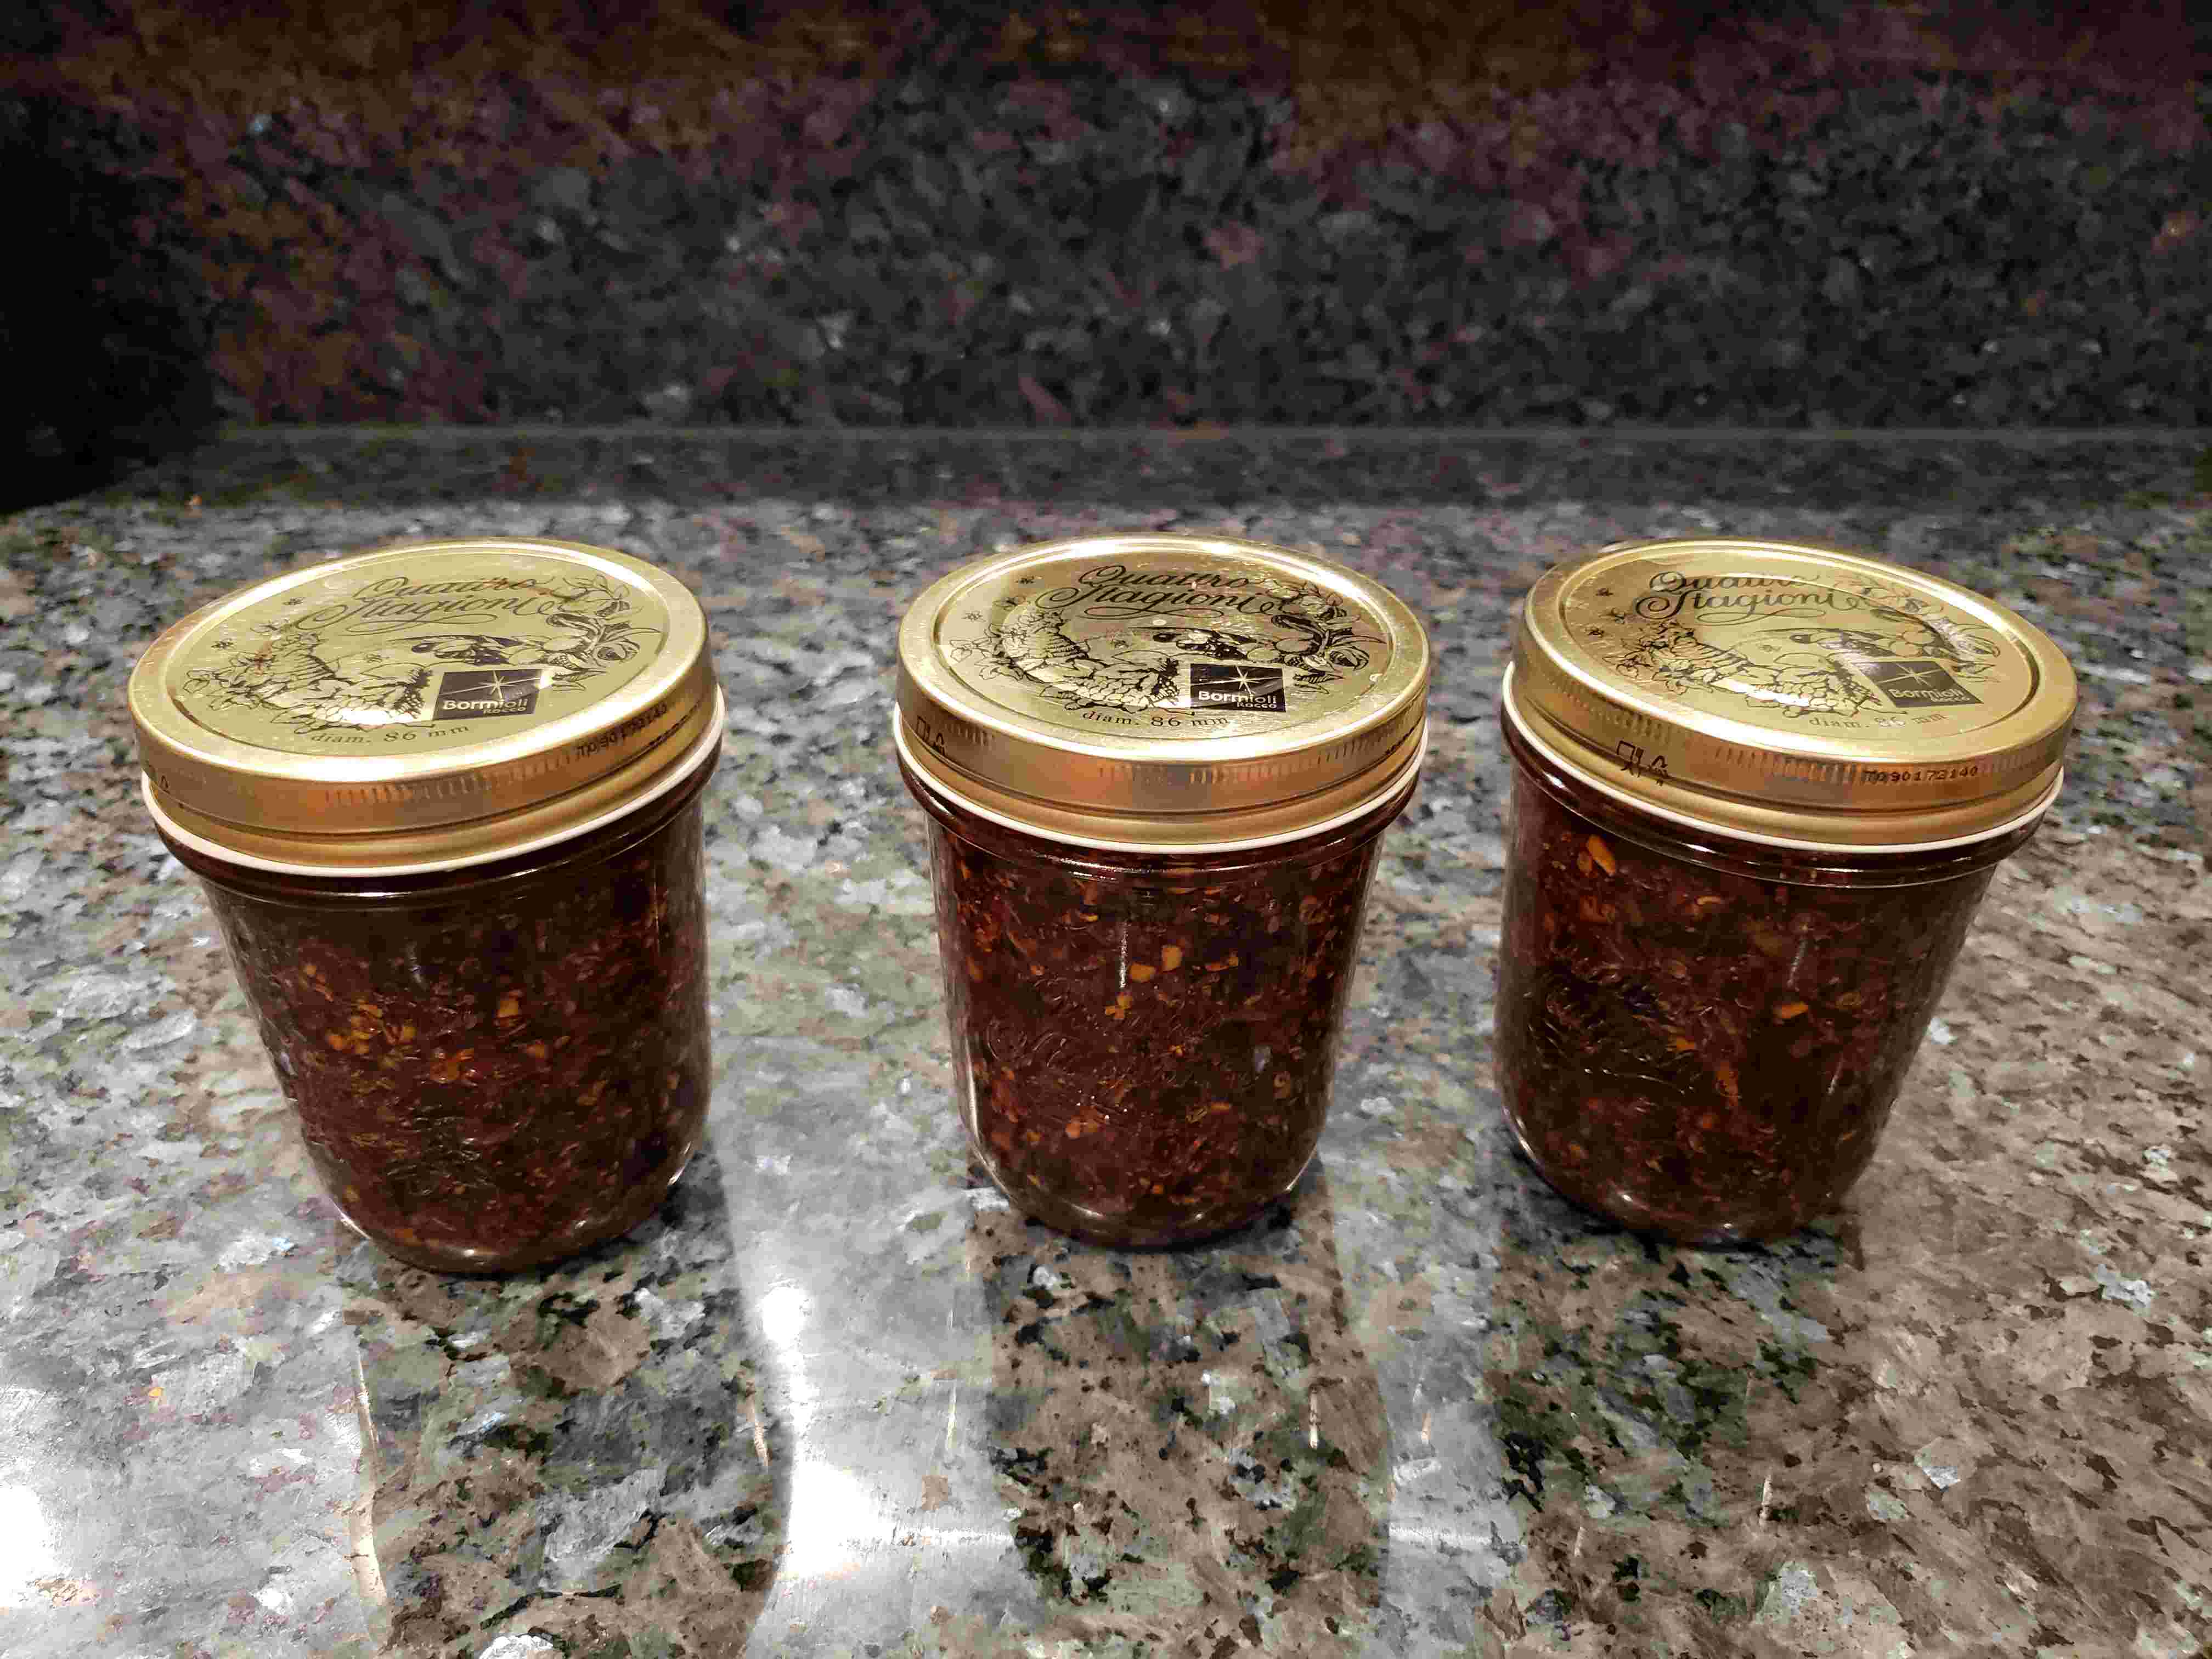
And now, an abundance of notes:
The original recipe calls for dried árbol chilies, chiles japones, and Kashmiri red chilies. I couldn’t find the latter two, so I made some substitutions. It’s totally fine to substitute whatever chilies you have or prefer. The Serious Eats website has this note about chilies and substitutions: “These chilies are all very spicy. If you’re interested in a milder condiment that’s still packed with flavor, swap in an equal amount by weight of less fiery chilies. Good options are guajillo, Aleppo, or Maras chilies.” I wanted to stay true to the original recipe, so I tried to swap in similar peppers. Essentially, the mix of chilies starts with the árbol chile, a relatively common Mexican chili pepper of medium heat that can be found dried in many supermarkets. Then, add a hotter pepper (I substituted tien tsin chile peppers for the chiles japones), and a milder, fruitier pepper (I substituted guajillo chilies for the Kashmiri chilies).
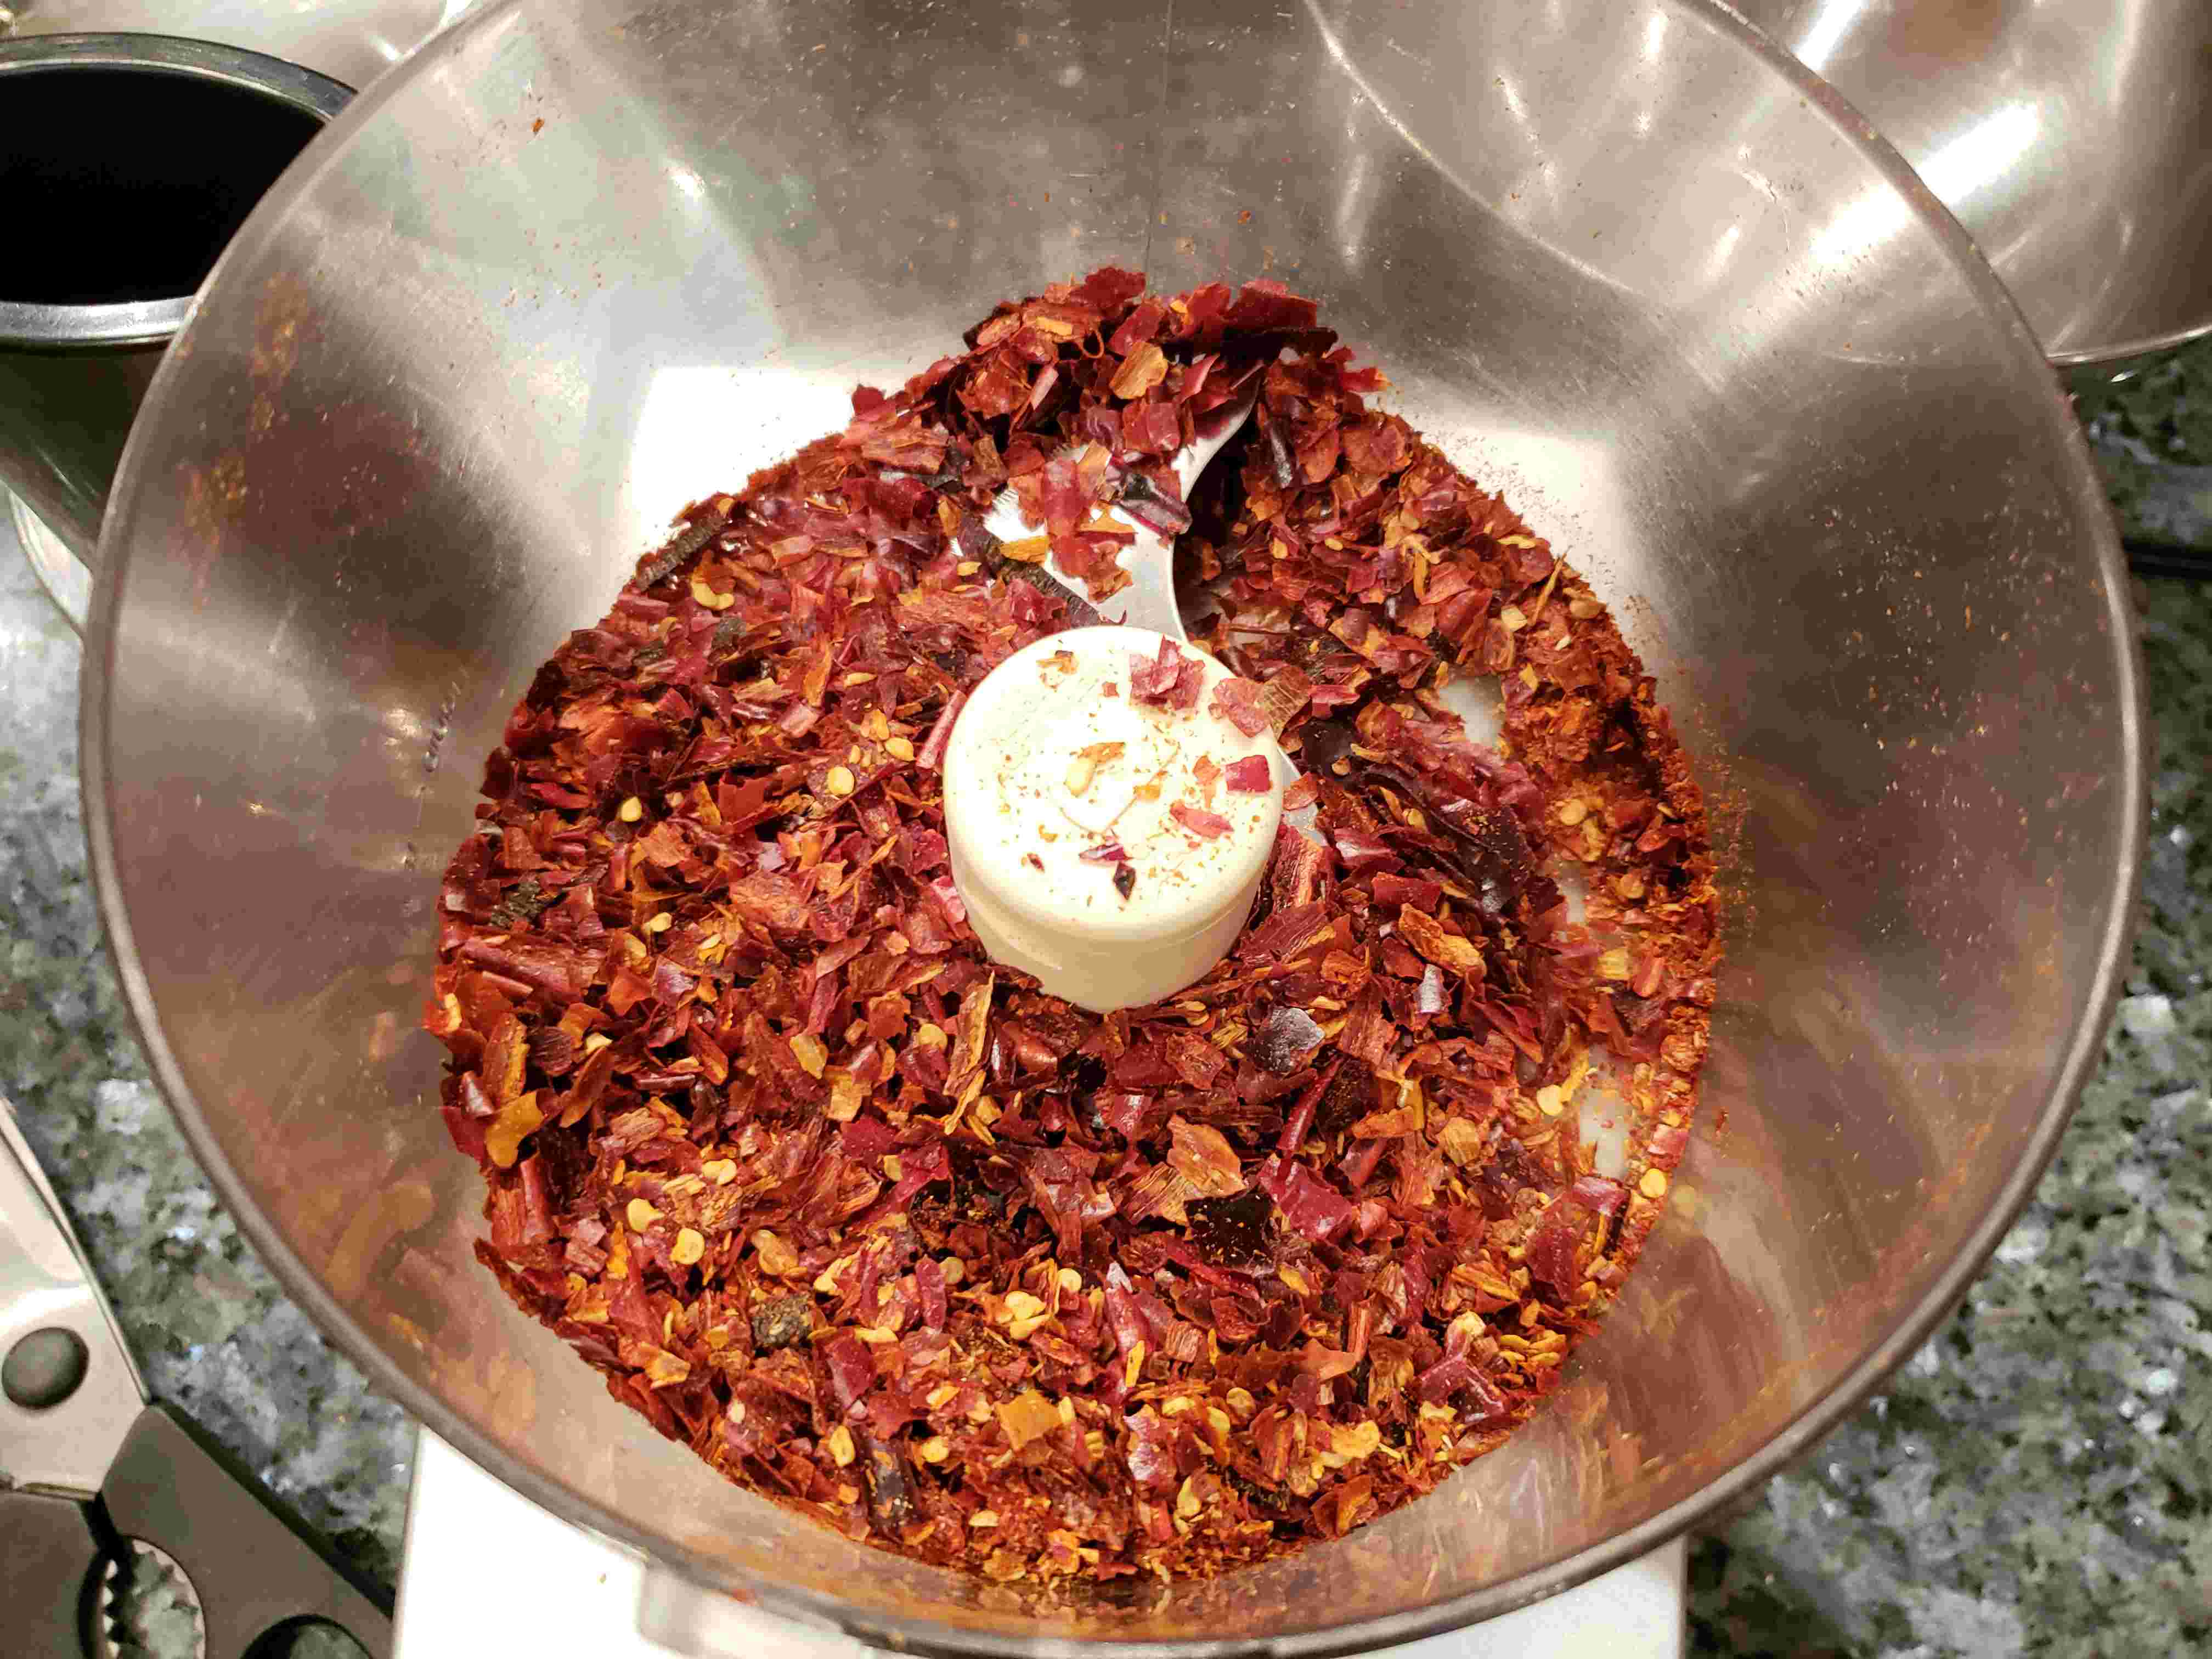
I don’t have a spice grinder (see reluctance to accumulate stuff above), and thought I could muddle through with what I had. That was… not the smartest decision. My food processor cut up the smaller, more brittle árbol chilies and tien tsin chiles okay, but it really struggled with the thicker, leathery skin of the guajillo chilies. I ended up picking out large pieces of guajillo chilie and snipping them into smaller bits by hand with scissors. Not the best use of my time.
Relatedly, I somehow didn’t see how much ground Szechuan peppecorn the recipe called for (spoiler alert: it’s a lot. It’s also what gives the chili crisp a wonderful, numbing flavor, so it should be a lot). I only had whole peppercorns, but I figured I could get by with grinding them in my manually-operated pepper grinder. Well, I filled up my entire pepper grinder and that was still not enough peppercorns. I ended up spending maybe 20 minutes hand cranking Szechuan peppecorn, and then giving up and “grinding” the rest of the peppercorns in the food processor (which actually did okay, and maybe what I should have just done with all of the peppercorns in hindsight). NOT the most pleasant use of my time.
Moral of the story: use thin-skinned, easily pulverized peppers and preground Szechuan peppecorns, or invest in a spice grinder. I will definitely do one of the two the next time I make this.
About deseeding the chilies: the seeds can be tough and leathery, so can create an unpleasant texture for the chili crisp. I found that the easiest way of deseeding them was to use kitchen shears to cut them in half the long way, from the stem to the tip. Cutting them should cause the seeds to bounce and sprinkle out. I cut all the chilies, then picked them up by the handful and gave them a collective shake, spot checking a few chilies to see whether seeds remained. You don’t have to get rid of every seed, just enough so that it doesn’t feel like you’re just eating spicy chili seeds!
I increased the amount of oil since I really love chili oil. However, even so, there was barely any oil after all the chilies, shallots, and garlic had been stuffed in. Such is the nature of this chili relish. Still, I think the next time I might up the oil content even more, just to loosen up the condiment a bit.
Recently I bought a scale for measuring ingredients. I’m going to devote a whole post to this scale soon because I. LOVE. IT., but consider this my first volley – if you cook or bake a lot, get a scale. It’s so much easier. If you see yourself making this chili crisp over and over again (as you should), get a scale. It is beyond a pain to try and measure cups of chilies, shallots, or garlic. Get a scale.
The recipe’s author, Sohla El-Waylly, recommends slicing the shallots and garlic with a mandoline. This is definitely too much for me. It’s fairly easy to just slice the shallots with a knife. Try to cut them thinly, and to be as consistent as you can, as it will result in more even frying. For the garlic, I just minced them, and while the end result was not as aesthetically pleasing as nice crisp chips of garlic, this was a sacrifice I was willing to make.
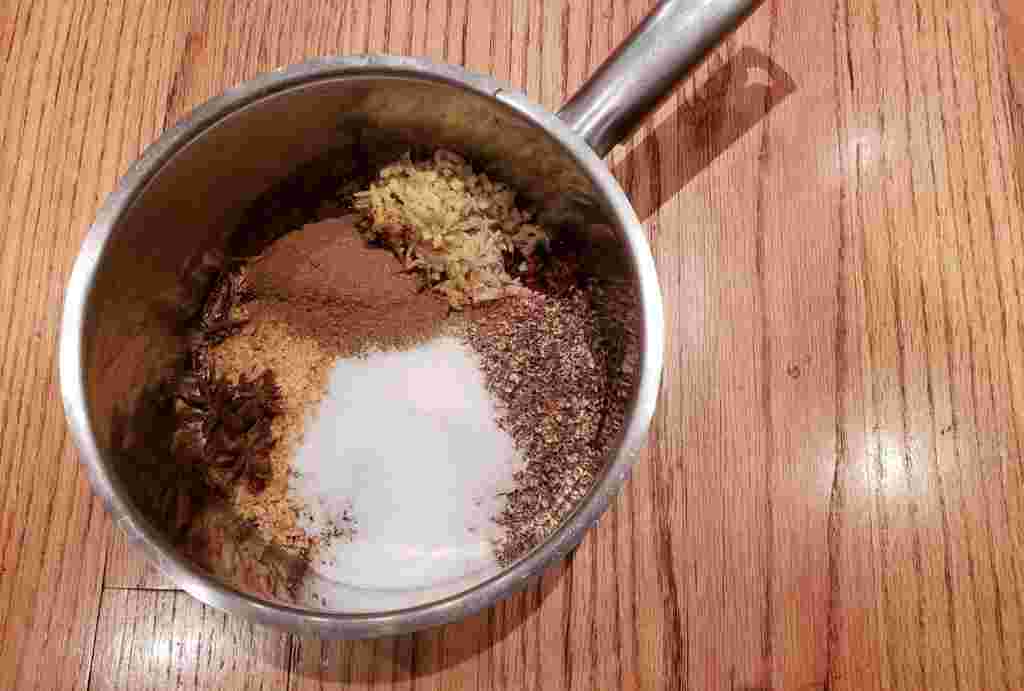
As I mentioned, the Szechuan peppercorns give the chili crisp that addictive numbing spice. The other spices (ginger, black pepper, cumin, red cardamom, star anise) give more depth of flavor and complexity. I used them all, but I think you can experiment with which ones you like, or add others to suit your tastes.
You should be able to find mushroom powder at specialty spice shops, or on Amazon. It gives a bit of extra umami and natural MSG flavoring to the chili crisp. Alternatively, you can buy dried mushrooms and grind them up yourself in a food processor (the powder doesn’t have to be super fine).
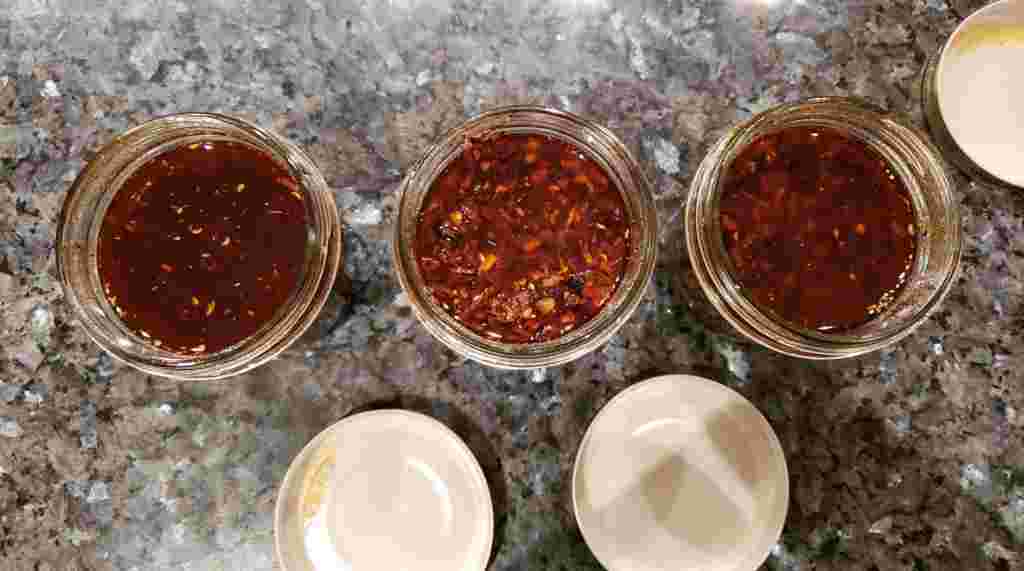
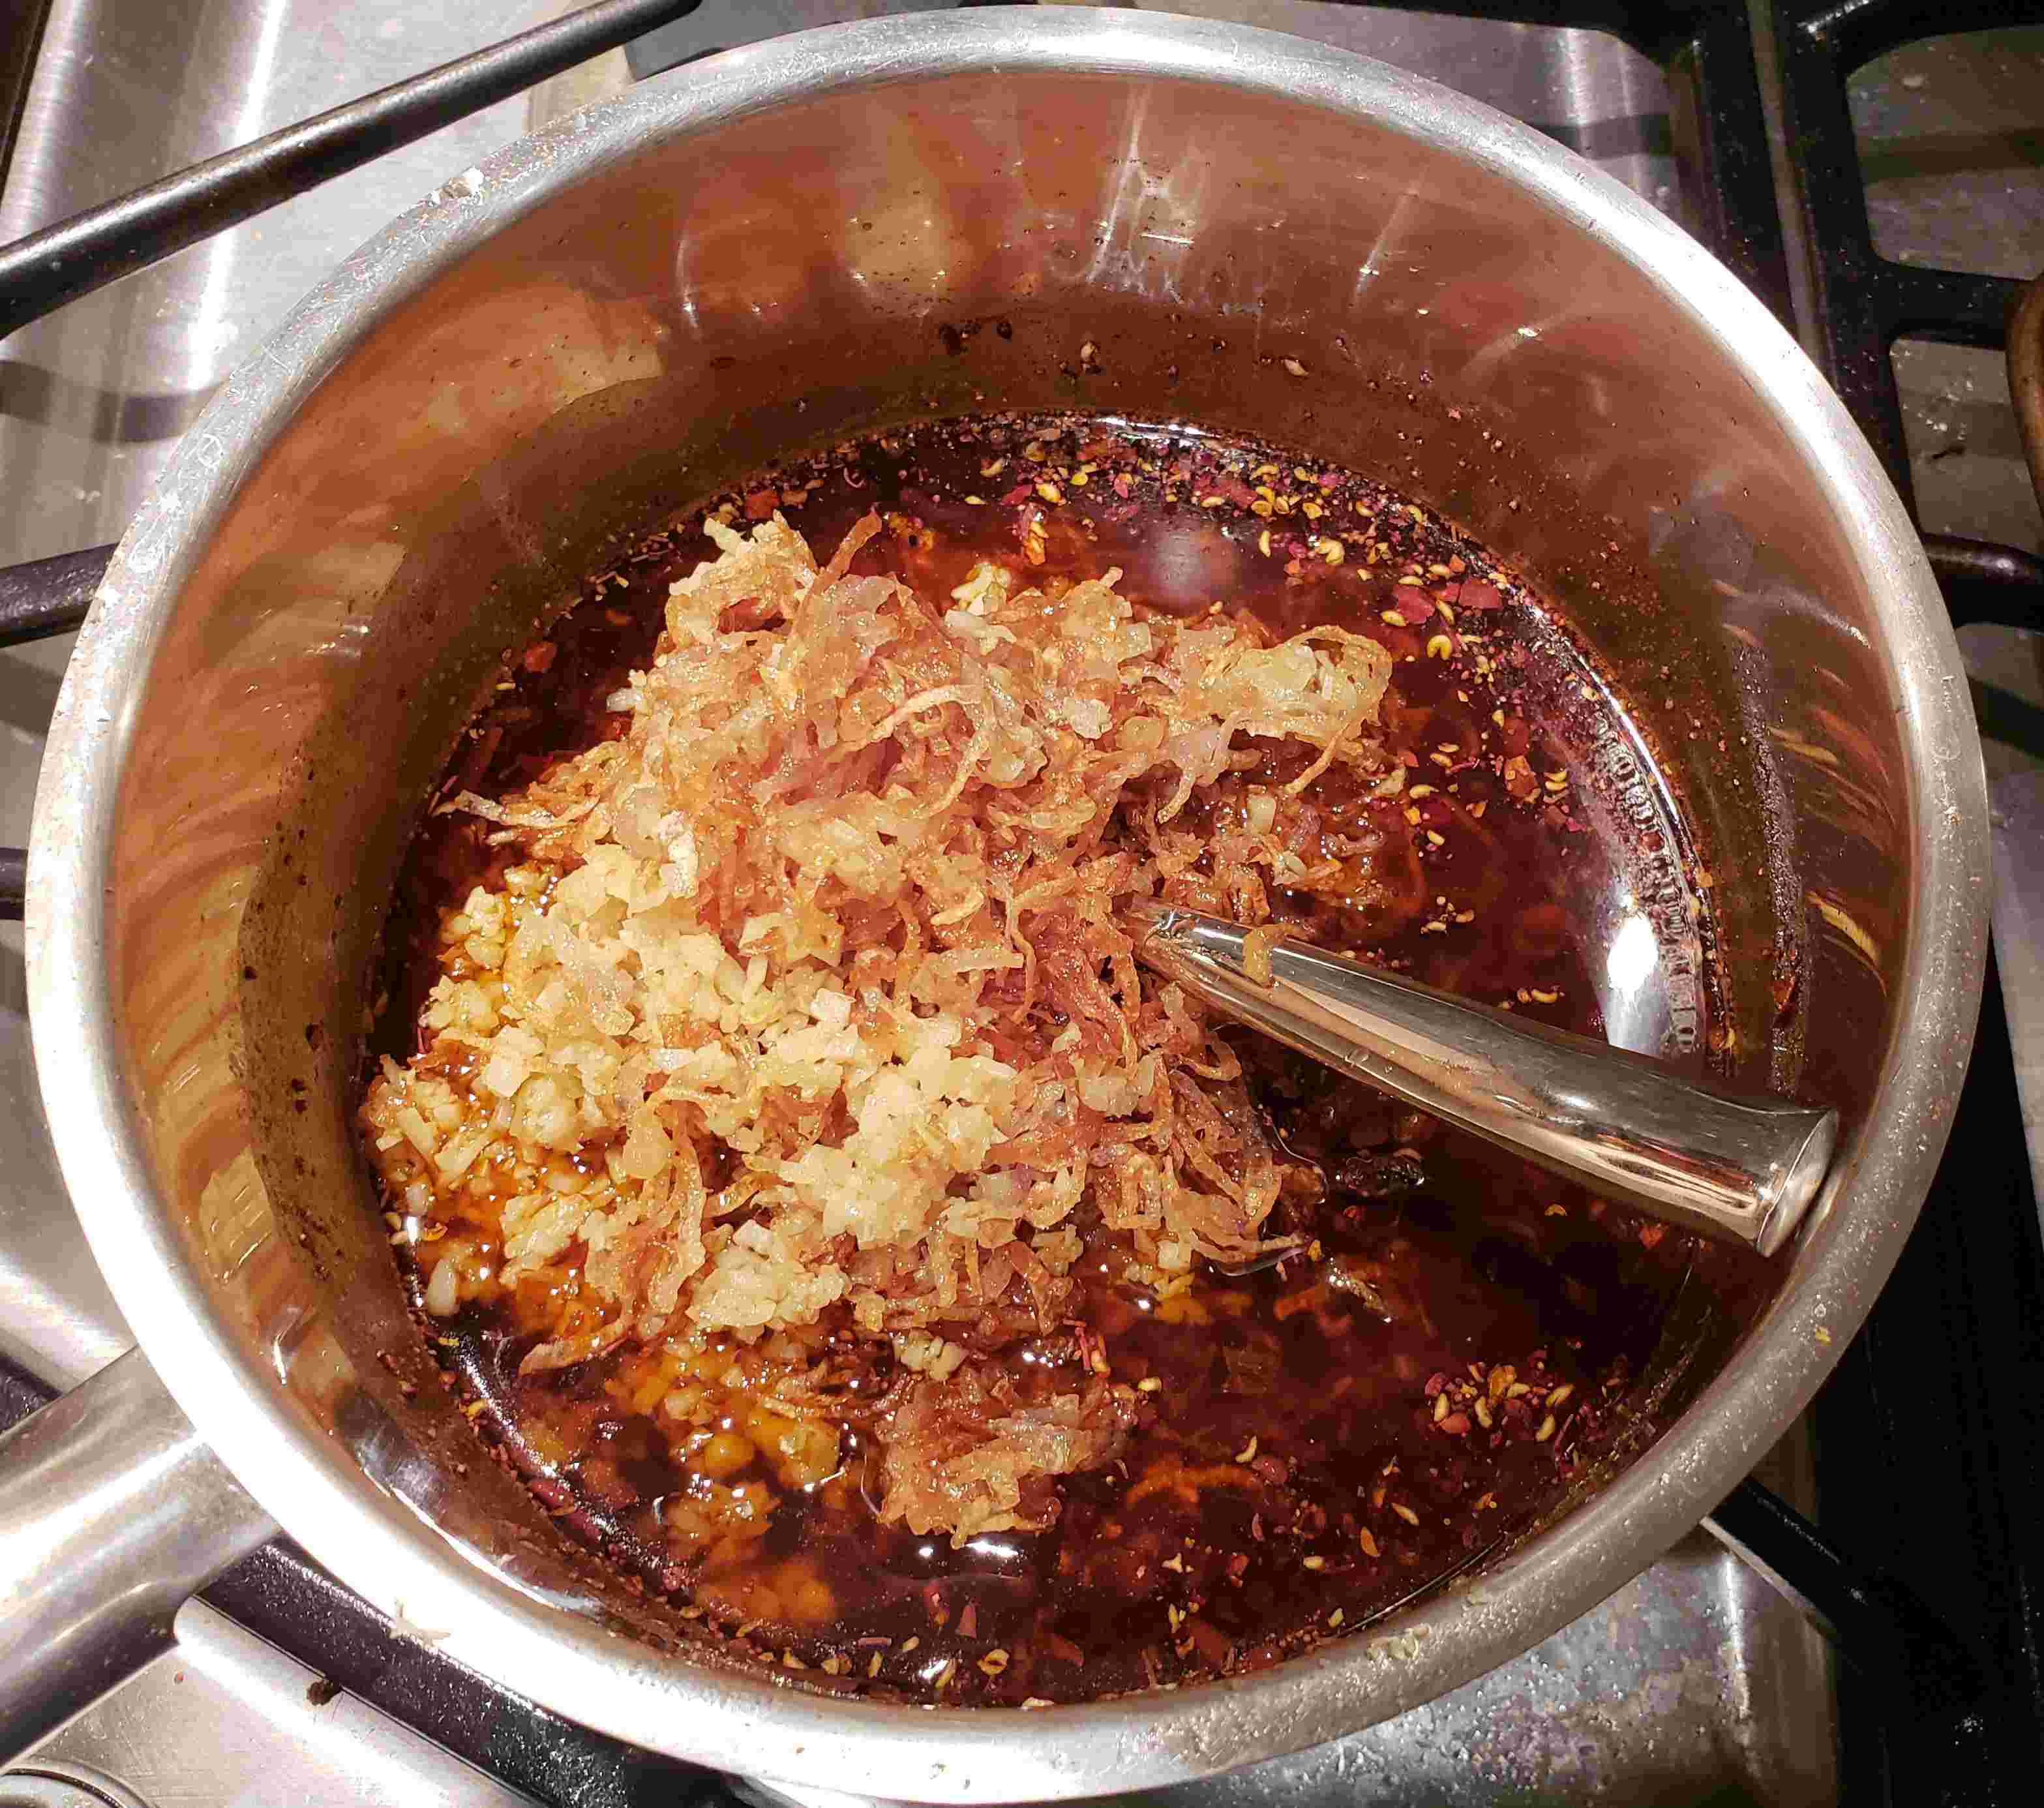
Chili Crisp
Source: Serious Eats
Makes 1 quart (900ml). I bought these 10.75-ounce jars, and had exactly enough for three jars.
Ingredients
- 1 cup (27 grams) dried árbol chilies, stems removed
- 3/4 cup (20 grams) dried chiles japones, stems removed (I used tien tsin chilies)
- 3/4 cup (25 grams) dried Kashmiri red chilies, stems removed (I used guajillo chilies)
- 1/2 cup (50 grams) roasted, salted peanuts, chopped
- 2-inch piece (30 grams) fresh ginger, peeled and sliced into thin matchsticks
- 3/4 teaspoon (2 grams) freshly ground black pepper
- 3 pieces whole star anise
- 2 red or black cardamom pods, split in half
- 2 teaspoons (6 grams) ground cumin
- 3 tablespoons (28 grams) ground Szechuan peppercorn
- 3 tablespoons (12 grams) porcini or shiitake mushroom powder
- 5 teaspoons (30 grams) kosher salt (for table salt, use about half as much by volume or the same by weight)
- 1 teaspoon (4 grams) MSG (optional - I did not use any)
- 2 tablespoons (20 grams) sugar
- 2 3/4 cups (550 grams) peanut oil, or other neutral oil
- 2 cups (200 grams) thinly sliced shallots (about 1mm thick)
- 3/4 cup (65 grams) thinly sliced or finely minced garlic
Instructions
-
Put on disposable latex gloves if you have sensitive skin. I didn't use gloves and my hands were okay; just make sure to wash them before touching your eyes or lips.
-
Deseed the chilies. Place a wire rack on top of a baking tray. Using kitchen shears, cut down the middle of the chilies, from the stem to the tip. Most of the seeds should bounce and fall out after being cut. After cutting all the chilies, shake the wire rack over the tray so that the seeds fall through the holes of the rack onto the tray. Don't worry about removing every seed, but spot check a few chilies to see that most seeds are removed. Transfer chilies to a bowl and discard seeds.
-
Using a spice grinder (or a food processor, but this won't work as well), process chilies until they are ground to a size just larger than standard chili flakes. Place processed chilies into a heatproof bowl or pot large enough to accommodate bubbling oil (at least 4 quarts in size). Add the peanuts, ginger, black pepper, star anise, cardamom, cumin, Szechuan peppercorn, mushroom powder, salt, MSG (if using), and sugar. Set aside.
-
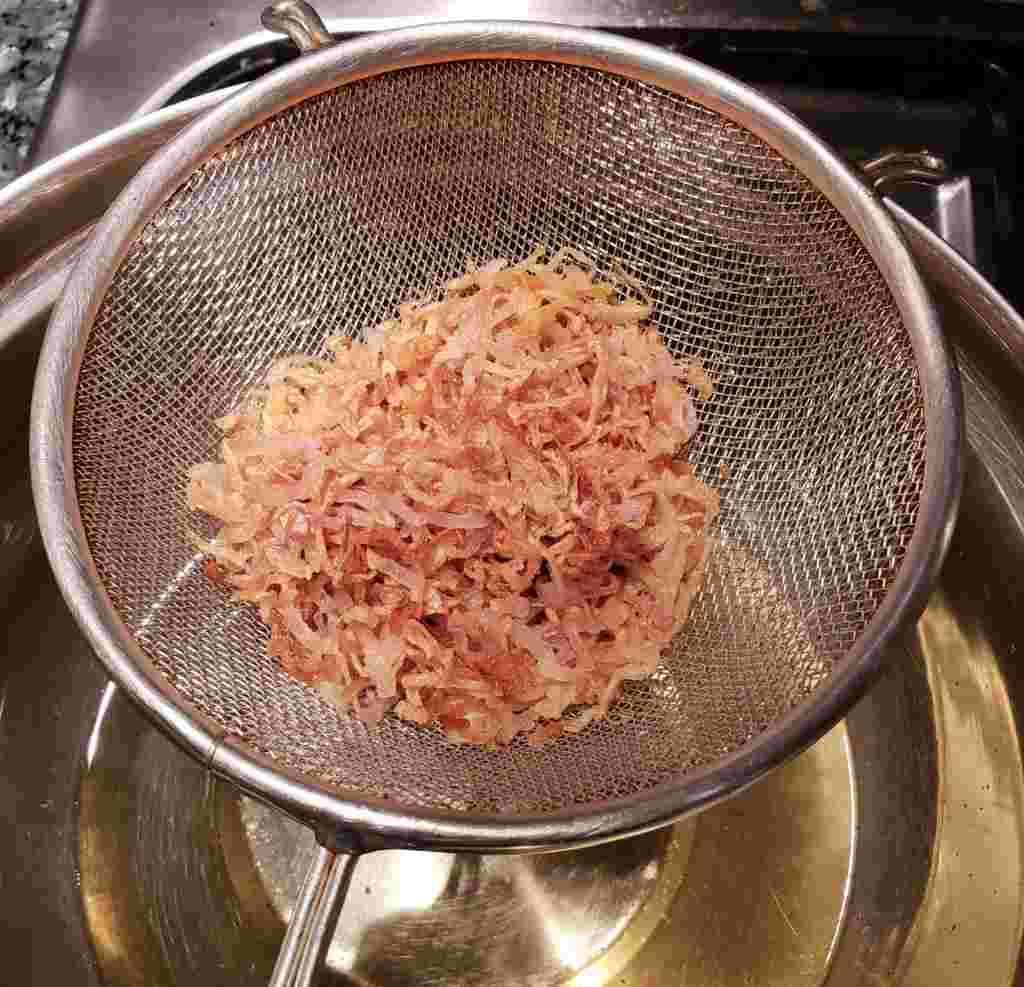
Set a strainer over a 2-quart heatproof bowl. In a 4-quart saucepan, combine oil and shallots. Cook over high heat while constantly stirring. When shallots are light golden brown, strain them through the sieve. The residual heat will crisp them up and darken their color to a deeper golden brown.
-
Pour oil back into pot and add garlic (if bits of shallot have fallen through the strainer into the oil, just fish them out before adding garlic). Cook over medium-low heat, constantly stirring, until light golden brown. This takes only about a minute or two, depending on how hot the oil is. Watch carefully and get ready to strain when garlic is just barely browned. Garlic can quickly become bitter, so make sure to stop cooking before it turns golden brown. Strain the garlic, then return oil to pot once more. Set aside fried shallots and garlic.
-
Heat oil to 375°F (190°C). Pour hot oil over chilies, spices, and other seasonings. Stir well to distribute hot oil, then let fully cool, about 30 minutes or until the bowl is cool to the touch.
-
Once chili-and-oil mixture has cooled, remove star anise and cardamom pods. Mix in shallots and garlic. Pour finished chili crisp into jars. It can be served immediately, but for best flavor, eat the next day. Stir well before serving. The chili crisp will keep in the fridge for up to 3 months.


