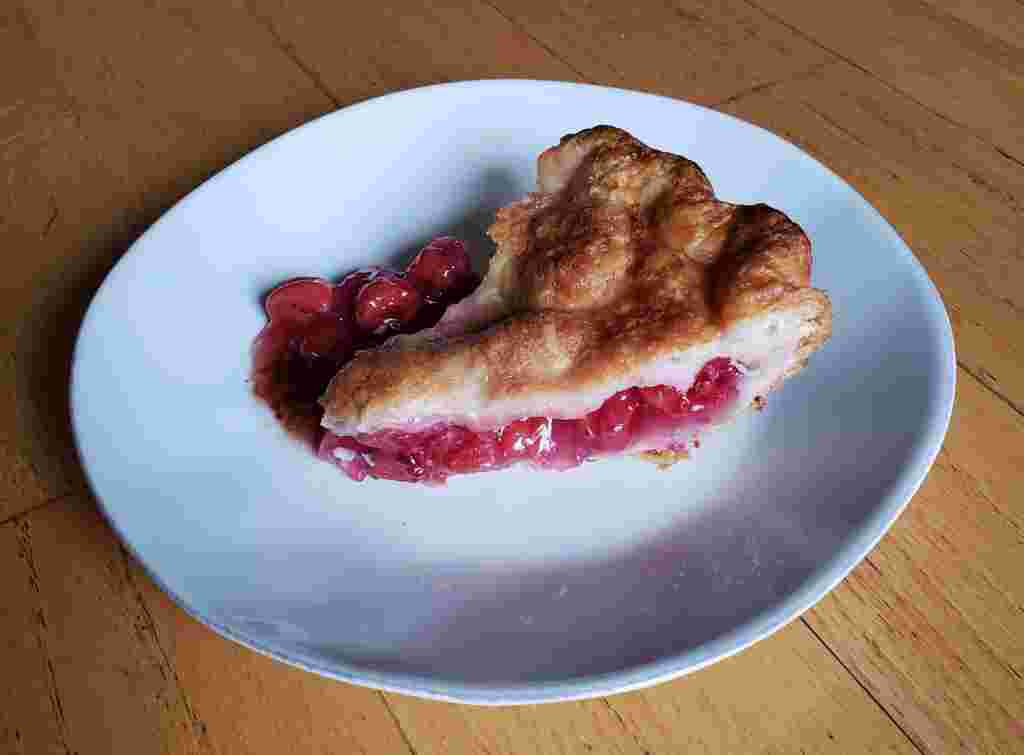
So, the bad thing about being a blogging hobbyist newbie is that I take foreeeeeeeevver between when I make the thing and when the recipe is up on the website. This is usually okay, as most of the ingredients I use are fairly available year-round, and I have a whole three months to get my inspired-by-summer/winter/spring/fall recipes up. But where this long lag time really bites me in the butt is when I’m dealing with something so fickle and short-lived as the ever elusive sour cherry. Here’s a sour cherry pie recipe! But…I’m pretty sure that sour cherry season is already over.
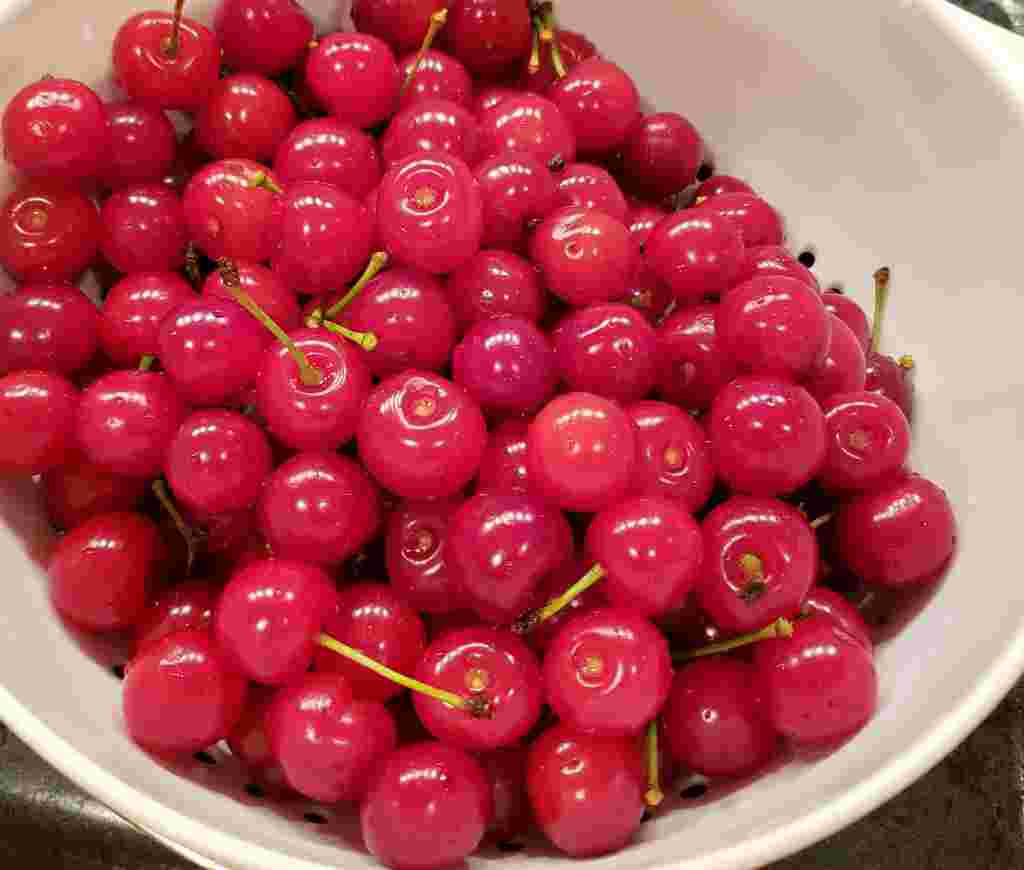
However, I am too excited about (finally!!) getting sour cherries that I can’t bear to wait until next year to share (who knows where this blog will be at next year!)! You see, I have been trying to get my hands on sour cherries for probably 8 years now. I’ve missed them every year – for reasons completely attributable to my utter lack of self-organization. When I lived in Boston, I never found them in the city, and I could never get it together to drive out to a farm and get them. Now that I live in Chicago, I’ve discovered that Traverse City, Michigan is the self-proclaimed cherry capital of the world, but that hasn’t helped with my organizational skills.
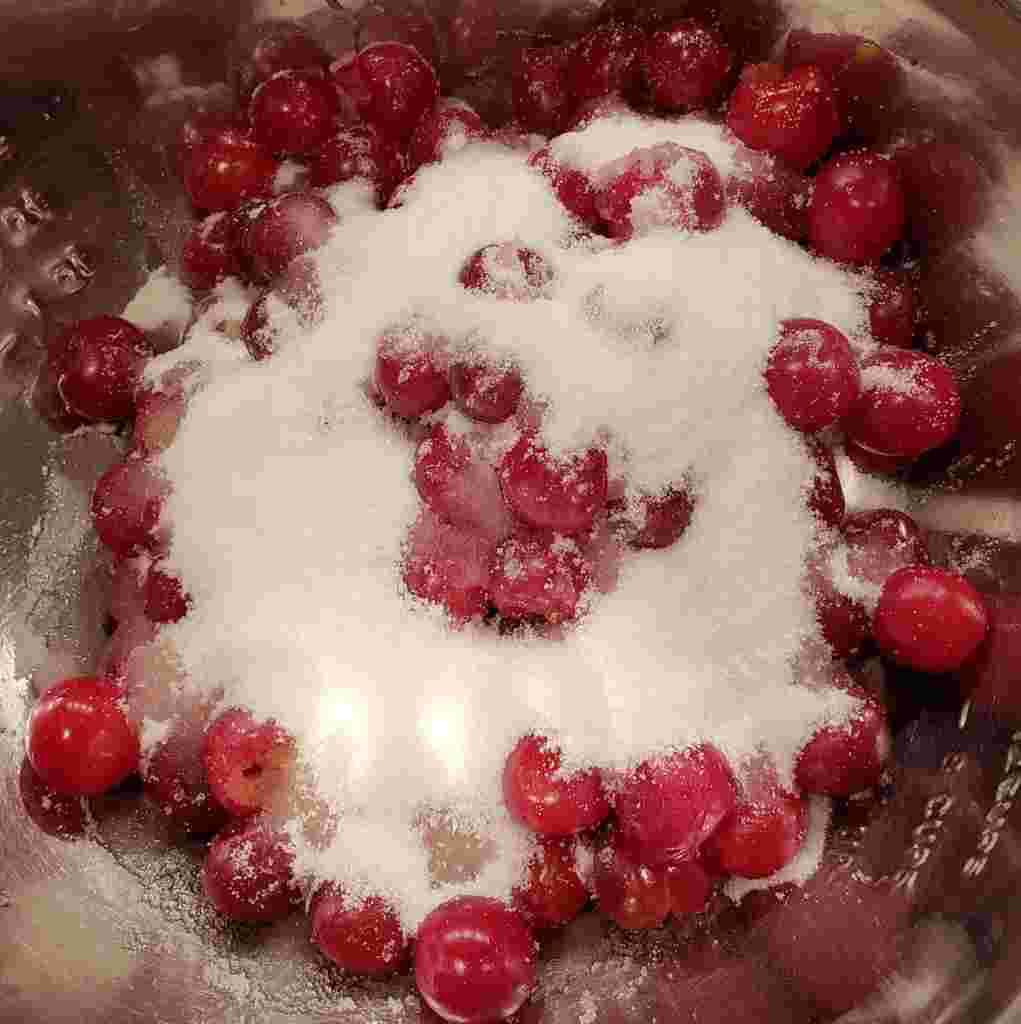
But when my friends George and Adrienne, amazing cherry- and Michigan-loving souls that they are, found me a bucket of sour cherries at a farmers market in the suburbs of Chicago, they became my favorite people and this finally became my year! I’m pretty sure I stood in the kitchen clutching the bucket of cherries with my greedy little fingers and cackling like an evil witch.
Sour cherries are smaller than their commonplace Bing counterparts, and are a vibrant, jewel-like ruby red. They are honestly one of the prettiest fruits I have ever seen. They are also, obviously, sour. But when combined with a mountain of sugar and flaky, buttery crust, they transform to a tart, lip-smacking, mouth-puckering pastry.
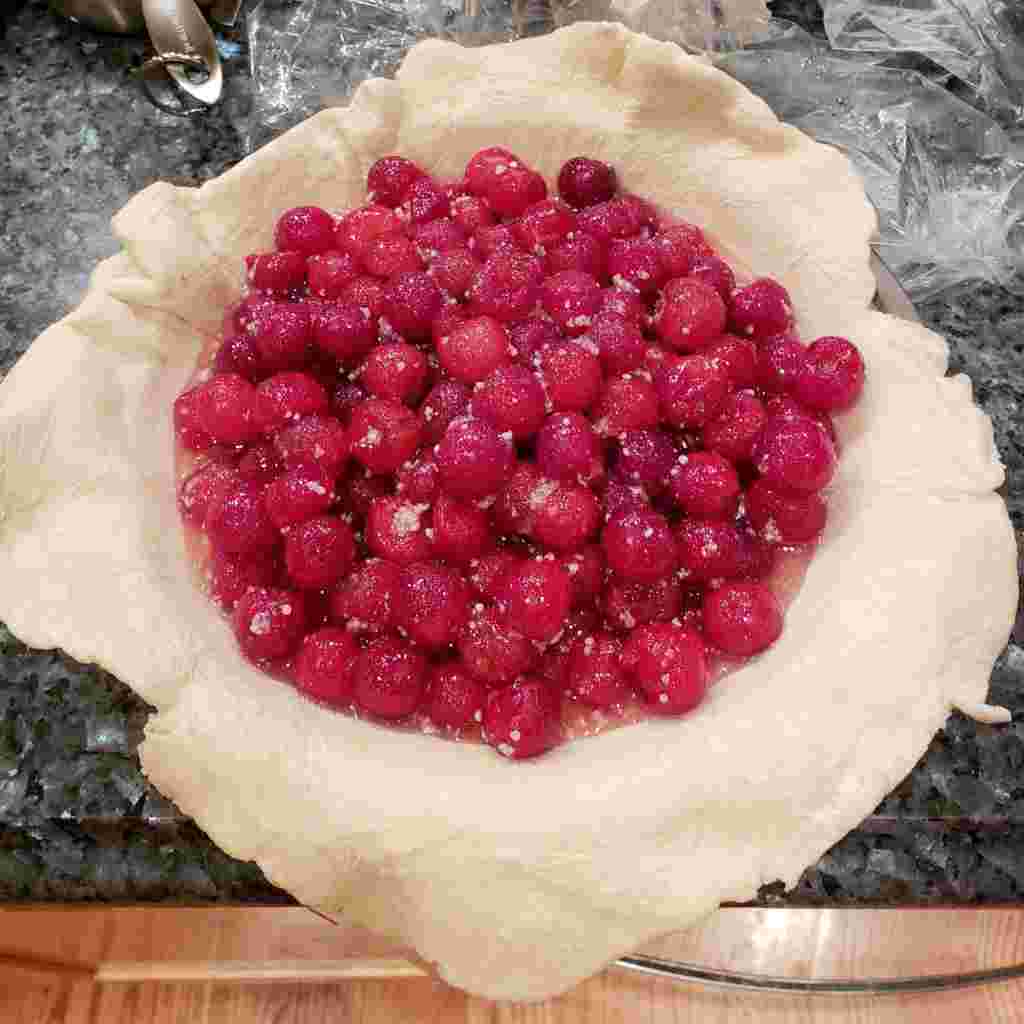
Despite my previous struggle with a new pie crust recipe, I tried a new recipe yet again. This one is from Stella Parks’s book Bravetart. It has a significantly higher butter-to-flour and water-to-flour ratio than any other pie crust I’ve ever tried (which just means that it doesn’t use as much flour). This obviously made me nervous right away, because I was afraid the crust would be too small (given the lower flour quantity) or too tough (given the higher water quantity). But I tried it anyway, and I’m glad I did! I did use a shallower pie plate than normal, both to be conservative with this new crust, and also because the quantity of cherries I had was juuuuuuust a tad bit shy of the required amount. But what I really loved about this crust was that it rolled up like a DREAM, with an absolute minimum amount of handling and kneading. Soft, pliable, and easy to manipulate, this was the least finicky and least crumbly crust I have ever worked with. But it still baked up flaky and tender, and intensely, distinctly buttery. It definitely made me more confident in the amount of water I could add to pie crust without it turning tough.
I don’t know if this is an all-purpose crust, exactly – it is very rich, and very decidedly buttery. I may not use it, for example, in a cream pie, where I’d want the cream filling to shine next to a more neutral crust (I’m in the camp that does not necessarily object to shortening in pie crust). However, for this cherry pie, it was perfect – out of the oven, the cherry juices had bubbled over on top of the crust, where they cooled and merged into a sort of syrupy, crispy cherry candy pastry. Fresh sour cherries may no longer be in season, but hey, I’m hoping that you can always get your hands on some frozen ones!
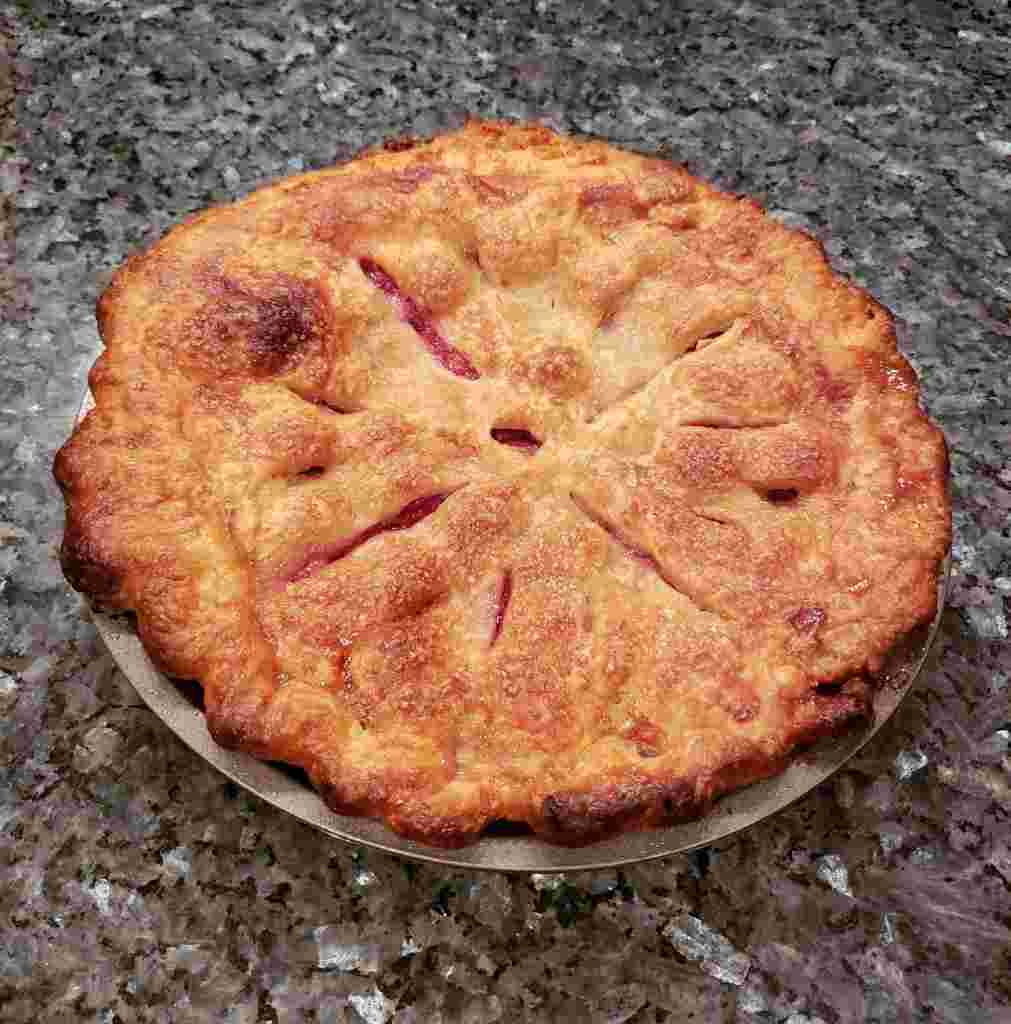
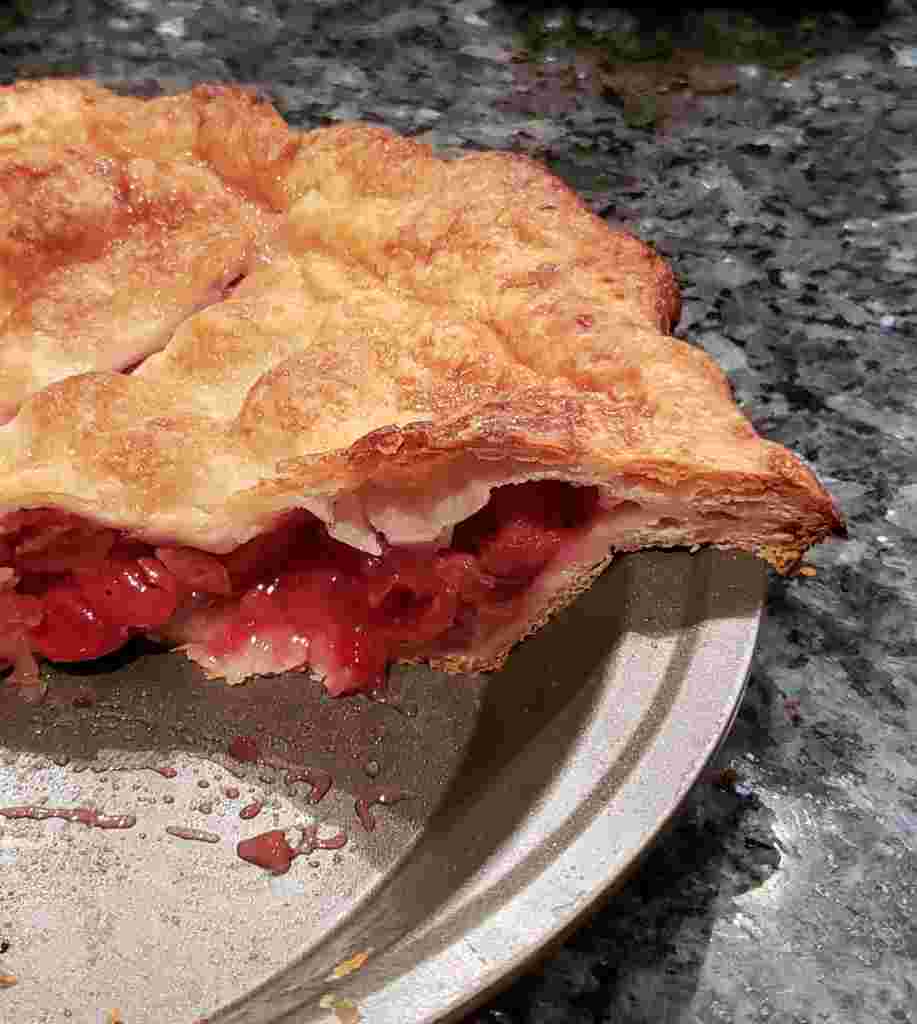
By the Way:
- I am stubbornly against one-purpose gadgets in the kitchen, and do not have a cherry pitter. Instead, I use a small paper clip – basically, you open up the paper clip, stick one looped end into the stem side of the cherry, fish around for the pit, and use the paper clip loop to pry the pit out. Here’s a video for how to do it. I’ve also done it with a small safety pin, holding the cap of the pin and pushing the coiled end into the cherry. Cons of the paper clip / safety pin: it’s messy, and probably takes a lot longer than the pitter. Pros: I don’t have a gadget lying around taunting me for only using it once every four years (I made a sweet cherry pie probably four years ago).
- The Bravetart cherry pie recipe is written for a mix of sweet and sour cherries. Since I only wanted to use sour cherries, I cut down the lemon juice by half.
- I did not have tapioca flour, and substituted 1 1/4 ounces of instant tapioca. The instant tapioca worked fine, but I would try tapioca flour the next time, as the tiny pearls of instant tapioca were a bit distracting.
- The Bravetart pie crust recipe calls for an entirely new way of mixing, kneading, shaping, and baking pie crust. My old habits die hard, however, and I couldn’t let go of all of the ways I’d previously made pie crust. Thus, my method is sort of an amalgamation of Stella Parks’s instructions and what I’ve always done (mostly learned from Smitten Kitchen). For the full Stella Parks experience, go here, and let me know how you do with exclusively her method!
- On a similar note, I found that with the Bravetart method of baking, the pie was slightly burnt on the bottom crust. I think this problem can be resolved by using a glass pie dish, as Stella Parks recommends and which I did not do. However, another method of baking, which has previously worked well for me with steel pie plates and seems to produce similar results, would be to bake at a higher temperature, then turn down the temperature halfway. I ended up doing this anyway, since I suspected my crust was burning, and so I’ve written the recipe with this modification.
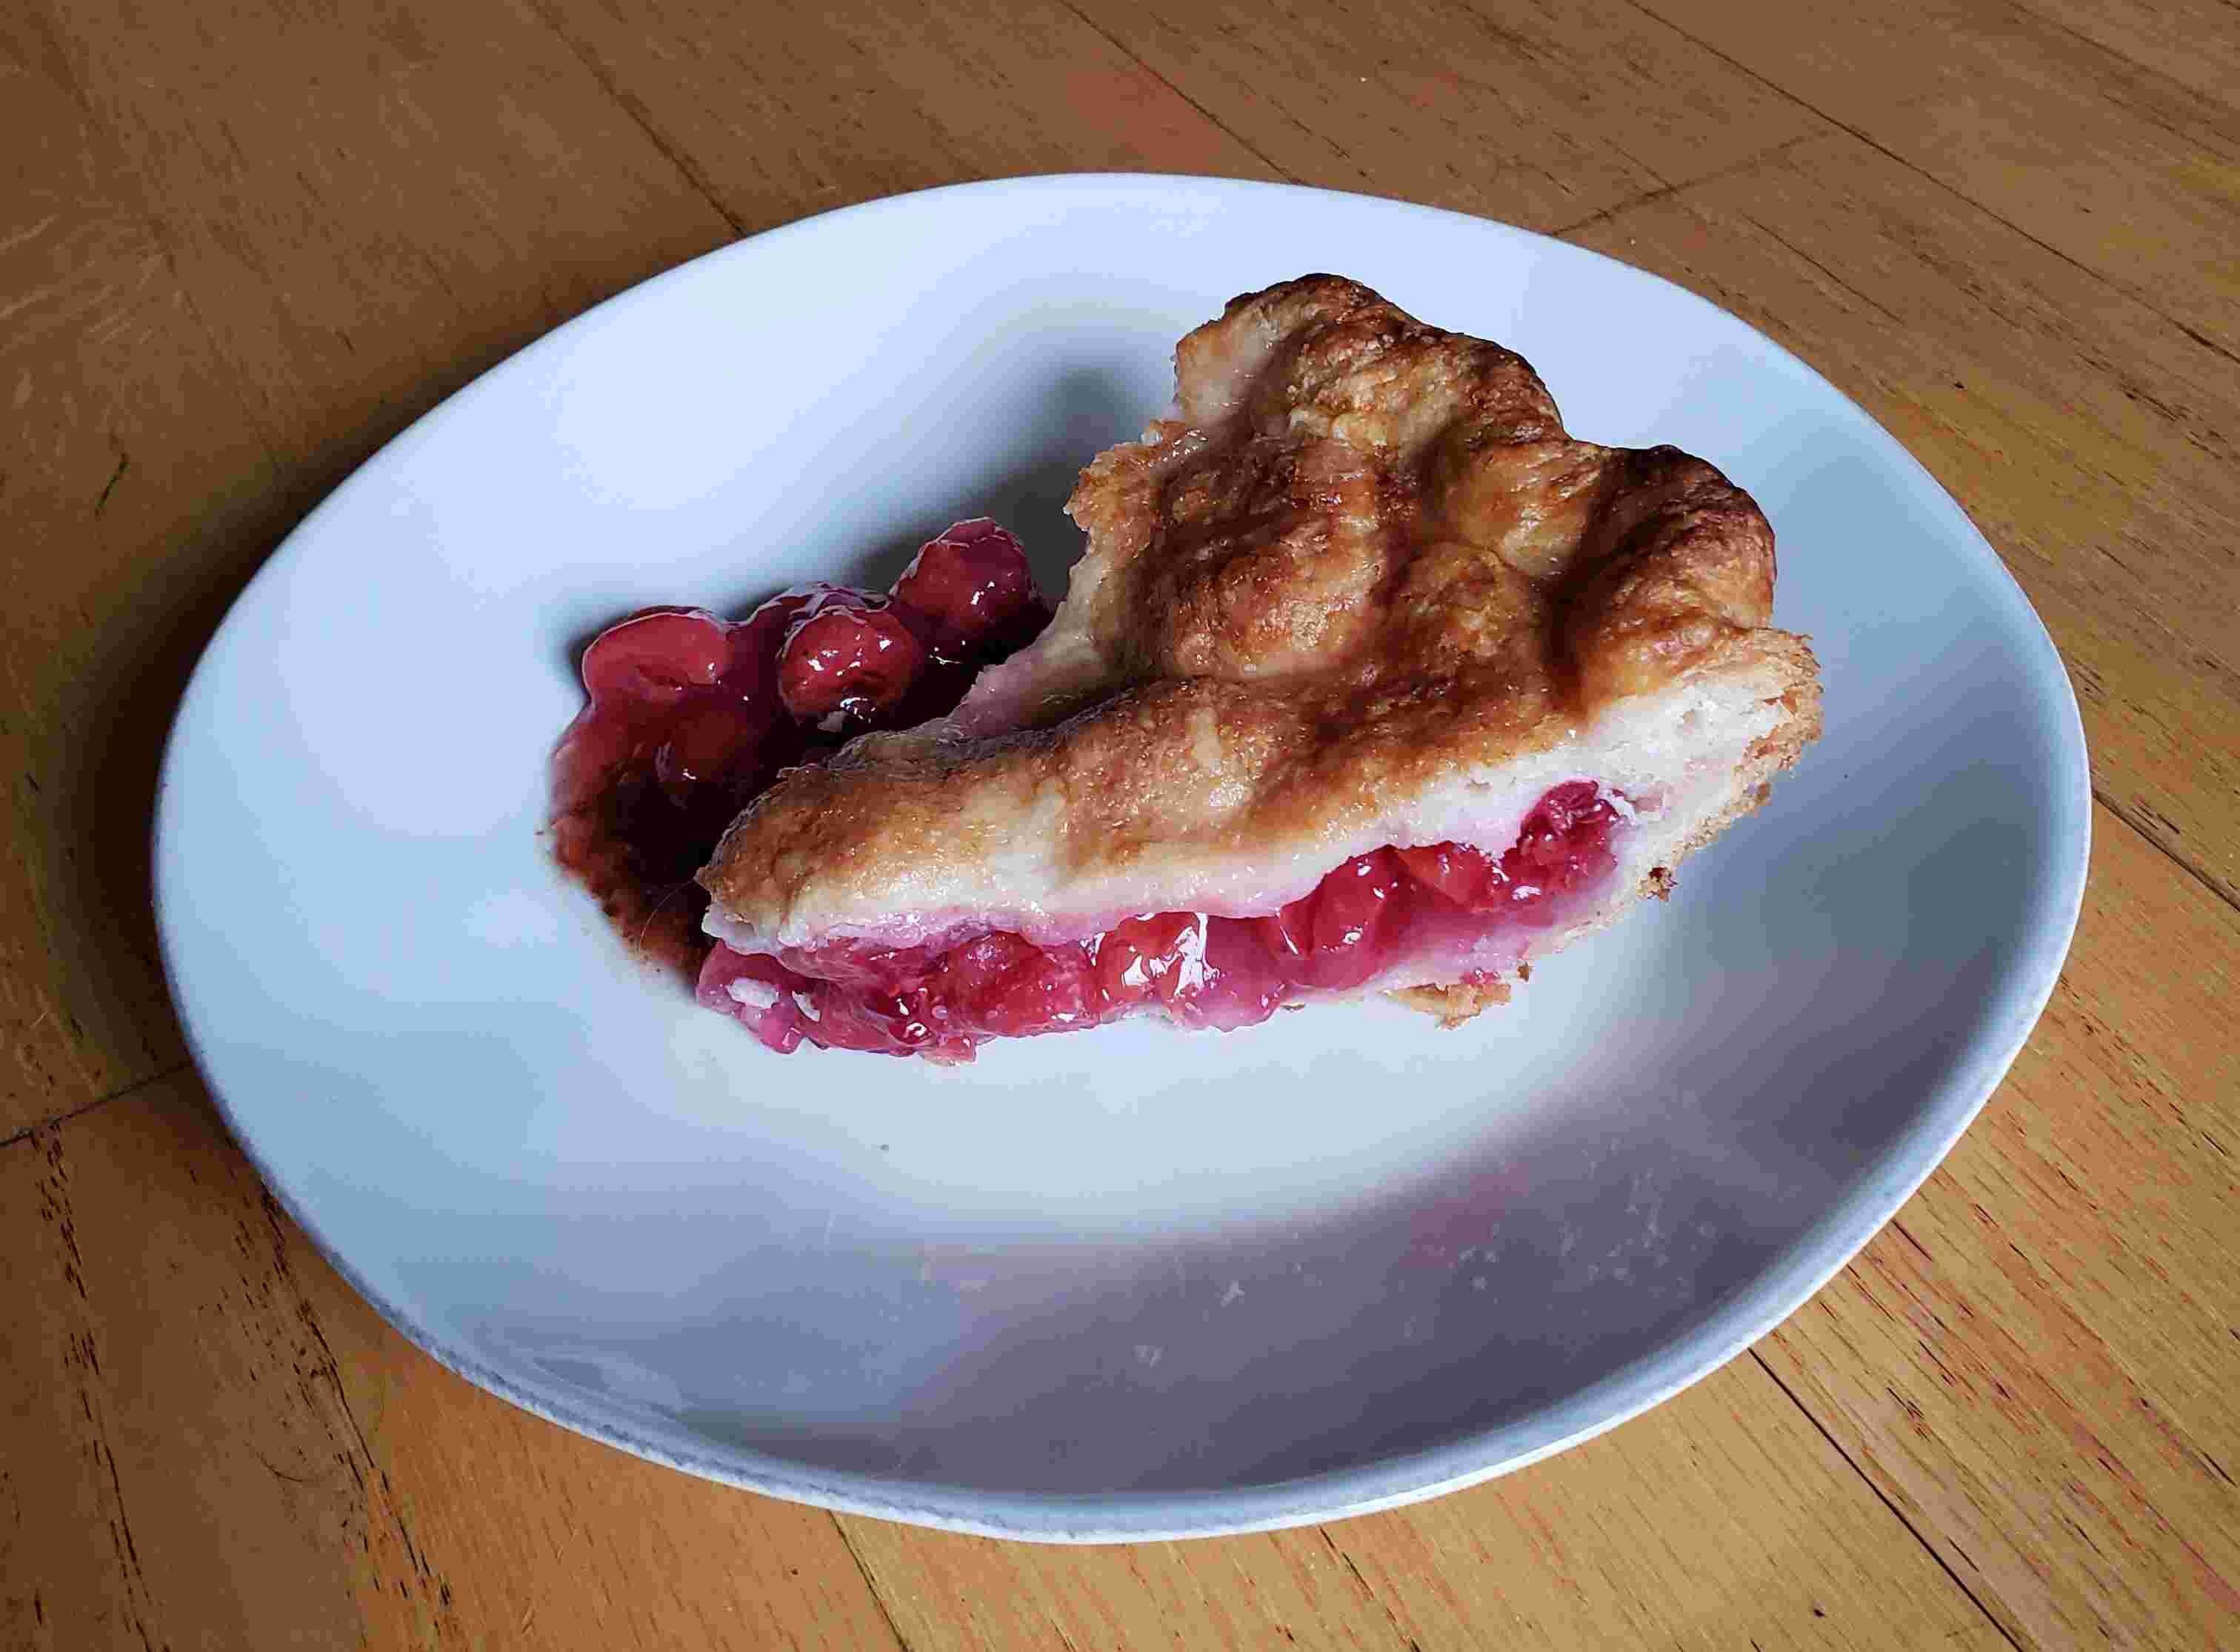
Sour Cherry Pie
Source: Bravetart, by Stella Parks
Ingredients
Pie Crust:
- 1 3/4 cups plus 1 tablespoon (8 ounces) all-purpose flour, plus more for dusting
- 1 tablespoon (1/2 ounce) sugar
- 1 1/2 teaspoons kosher salt
- 2 sticks (8 ounces) cold unsalted butter
- 1/2 cup (4 ounces) ice cold water
Filling:
- 6 heaping cups (2 pounds) whole cherries or 5 cups (28 ounces) frozen cherries, thawed but not drained (I used all sour cherries; you can also use a combination of sour and sweet)
- 1 tablespoon freshly squeezed lemon juice (Double if using combination of sour and sweet cherries)
- 1 cup (7 ounces) sugar
- 3/4 teaspoon kosher salt
- 1/3 cup plus 1 teaspoon (1 1/2 ounces) tapioca flour (such as Bob's Red Mill) (Can substitute 1 1/4 ounces instant tapioca)
- 1 egg white, beaten lightly
- Sanding sugar, for decoration, optional
Instructions
For the Pie Crust:
-
Combine the flour, sugar, and salt in a large bowl. Add the butter and, using a pastry blender, cut the butter into the flour mixture until the butter pieces are the size of small peas. I tend to shake the bowl every so often, so that the larger butter pieces accumulate at the top and I can target them with the pastry blender.
-
Drizzle the water over the butter and flour mixture. As you drizzle the water, "fluff" the flour mixture with a fork - this really helps distribute the water evenly. You can stop adding the water for a bit, fluff the dough mixture with the fork, then target dry patches with additional water. After you've added all the water, knead until the dough comes together in a ball. When you pick up the dough in your hand and squeeze, the dough should stay together and should not crumble.
-
Transfer to a generously floured work surface, and roll into approximately a 10-by-15 inch sheet. Fold each 10-inch side toward the middle so that the edges meet, then close the packet like a book. Fold again top to bottom, and divide the block of dough in half. Wrap each half in plastic wrap, and refrigerate for at least 1 hour (preferably 2), or overnight.
-
Remove one piece of dough from the refrigerator - if necessary, let stand at room temperature until malleable. Roll dough on lightly floured work surface or between two large sheets of plastic wrap to about a 13-inch round. Transfer dough to a 9-inch pie plate by rolling dough around rolling pin and unrolling over the plate or by folding dough in quarters, then placing dough in pie plate and unfolding. Ease dough into plate by gently lifting dough edges with one hand and pressing down into the plate bottom and sides with your other hand. Leave dough that overhangs lip of plate in place, and refrigerate.
Filling and Assembly:
-
Wash and pit fresh cherries; see note above if you do not have a cherry pitter. Combine the pitted cherries with the lemon juice, sugar, salt, and tapioca flour or instant tapioca. Toss gently with a flexible spatula to combine. Pour into the prepared pie shell and refrigerate while you roll out the top crust.
-
Roll out second piece of dough to about an 11-inch round and place over filling. Gently press the top and bottom pieces of pie dough together, and fold and tuck the dough underneath itself so that the outer edge of crust is flush with the outer edge of pie plate. Flute the crust by pinching with your fingers or press with fork tines if desired, but I found that with such a buttery crust, the decorative crimping tended to melt away when baked. Cut several slits on dough top. Refrigerate the entire pie until firm and cold, about 30 minutes. Meanwhile, preheat oven to 425°F.
-
Take pie out of refrigerator and brush egg white onto top of crust. Sprinkle evenly with sanding sugar, if desired. Place pie on baking sheet and bake until top crust is golden, about 25 minutes. Rotate pie and reduce oven temperature to 375°F; continue baking until juices bubble and crust is deep golden brown, 30-35 minutes longer. If the crust is browning too quickly, loosely cover the pie with aluminum foil.
