
As you know if you’ve read my previous post about homemade Reese’s cups, I am currently obsessed with Stella Parks. And I saw Stella’s new post about Chocolate Swiss Buttercream the other day, and fell down the rabbit hole of WANT. NOWWWW. This isn’t really a “NOWWWW” sort of frosting, though (ha!), as Stella waxes rather poetically about the benefits and complexities and beautiful flavors produced when you use roasted sugar, aka “granulated caramel,” in the frosting. Now, you’re right, I could have just used plain ole’ light brown sugar. But, because I have severe FOMO, and because I have been inspired by my friend Heidi, who has been fermenting all sorts of things lately (kimchi, kombucha), just for the fun of culinary experimentation, I dove headfirst into roasting sugar at 325°F, for 2 hours, on a sweltering 97°F Chicago heat wave day. Thank God for air conditioning.
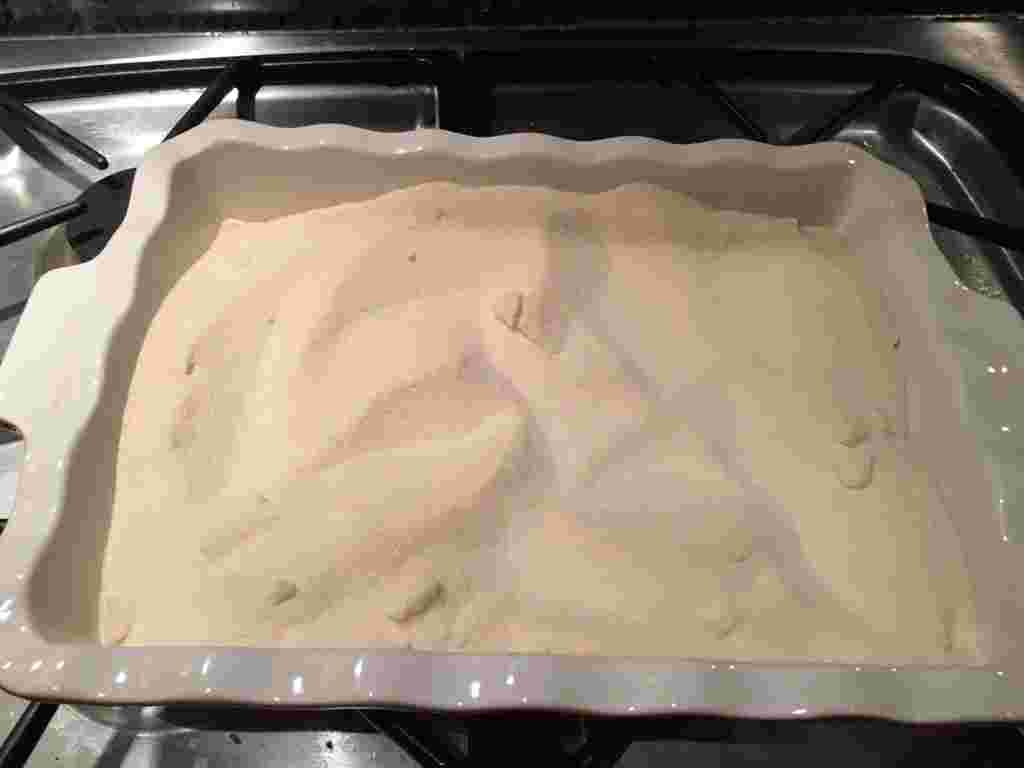
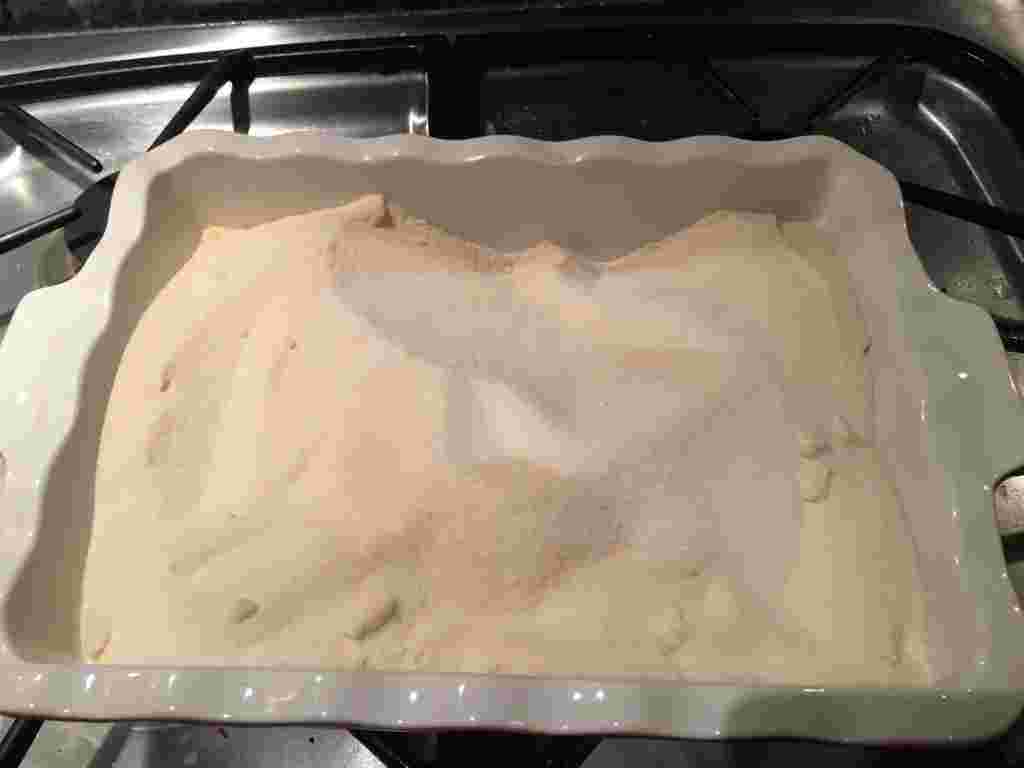
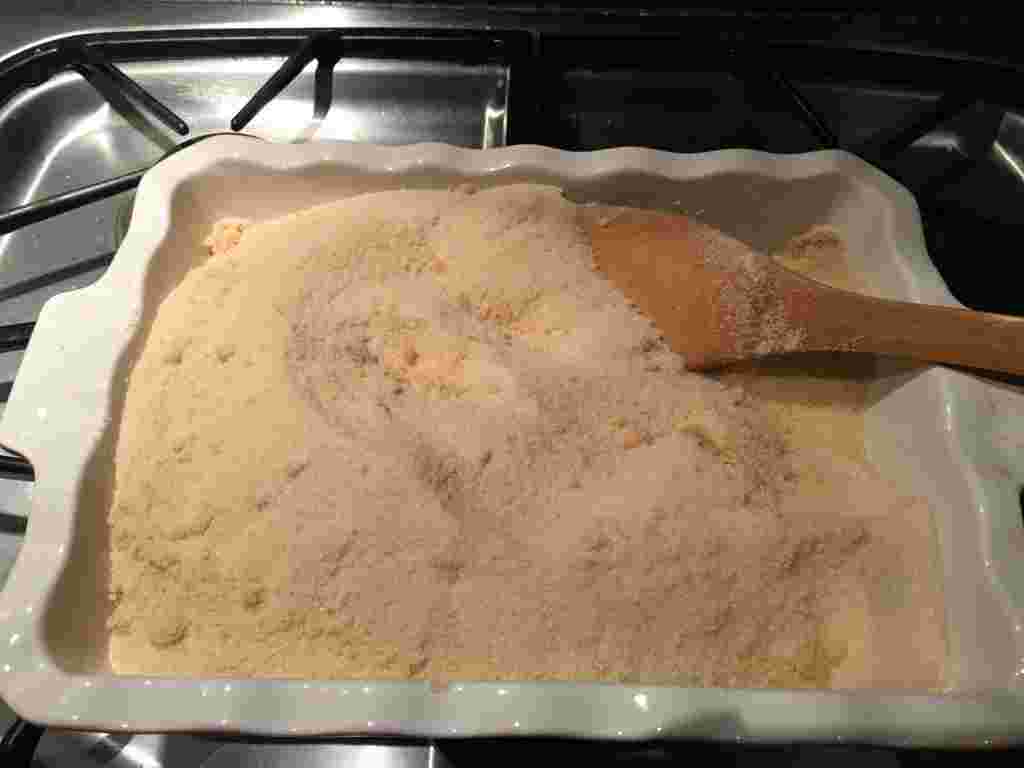
So what was the verdict? Well, visually and olfactorily, the results were stunning! It was super fun to watch the sugar slowly turn color from snow white to a sandy light brown. Every 30 minutes, as I took the sugar out of the oven, the tops of the peaks of sugar would be lightly toasted, and the bottom would be a darker tan, creating pretty brown swirls in the pan when I stirred it. Also, the house smelled amazing when the sugar was roasting. Light, caramelly, and slightly meringue-y, like being next door to a Werther’s factory. I only roasted the sugar for two hours, but even in that time, the resulting product was a beautiful, crumbly, sandy brown sugar that was yet lighter in color and drier in texture than ordinary light brown sugar. Overall, it was immensely satisfying in and of itself to watch white sugar transform and be responsible for coaxing it along.
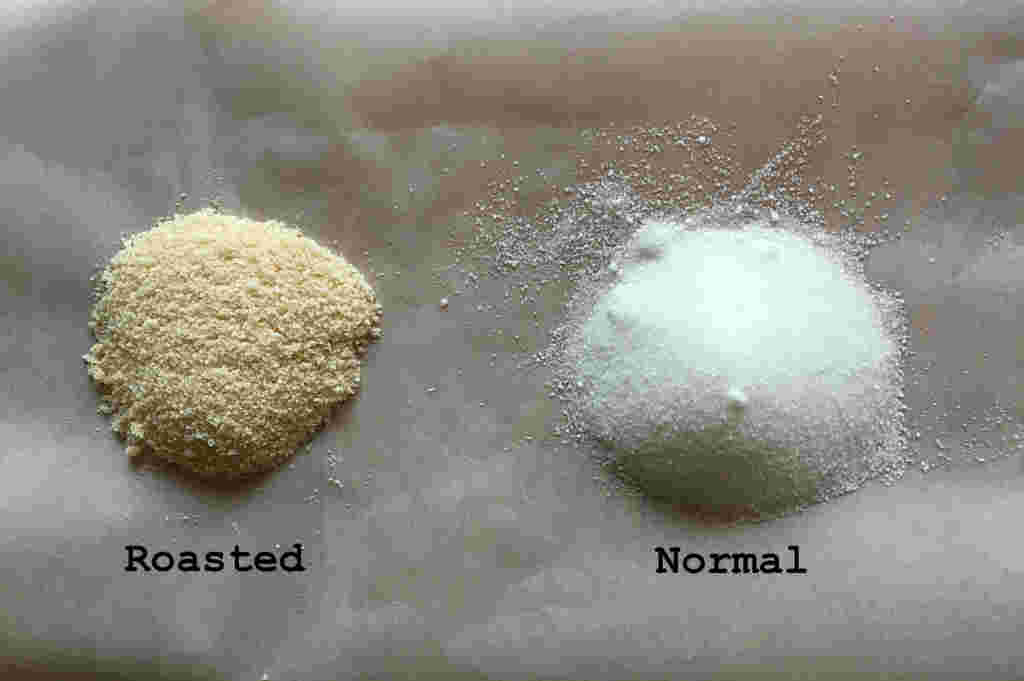
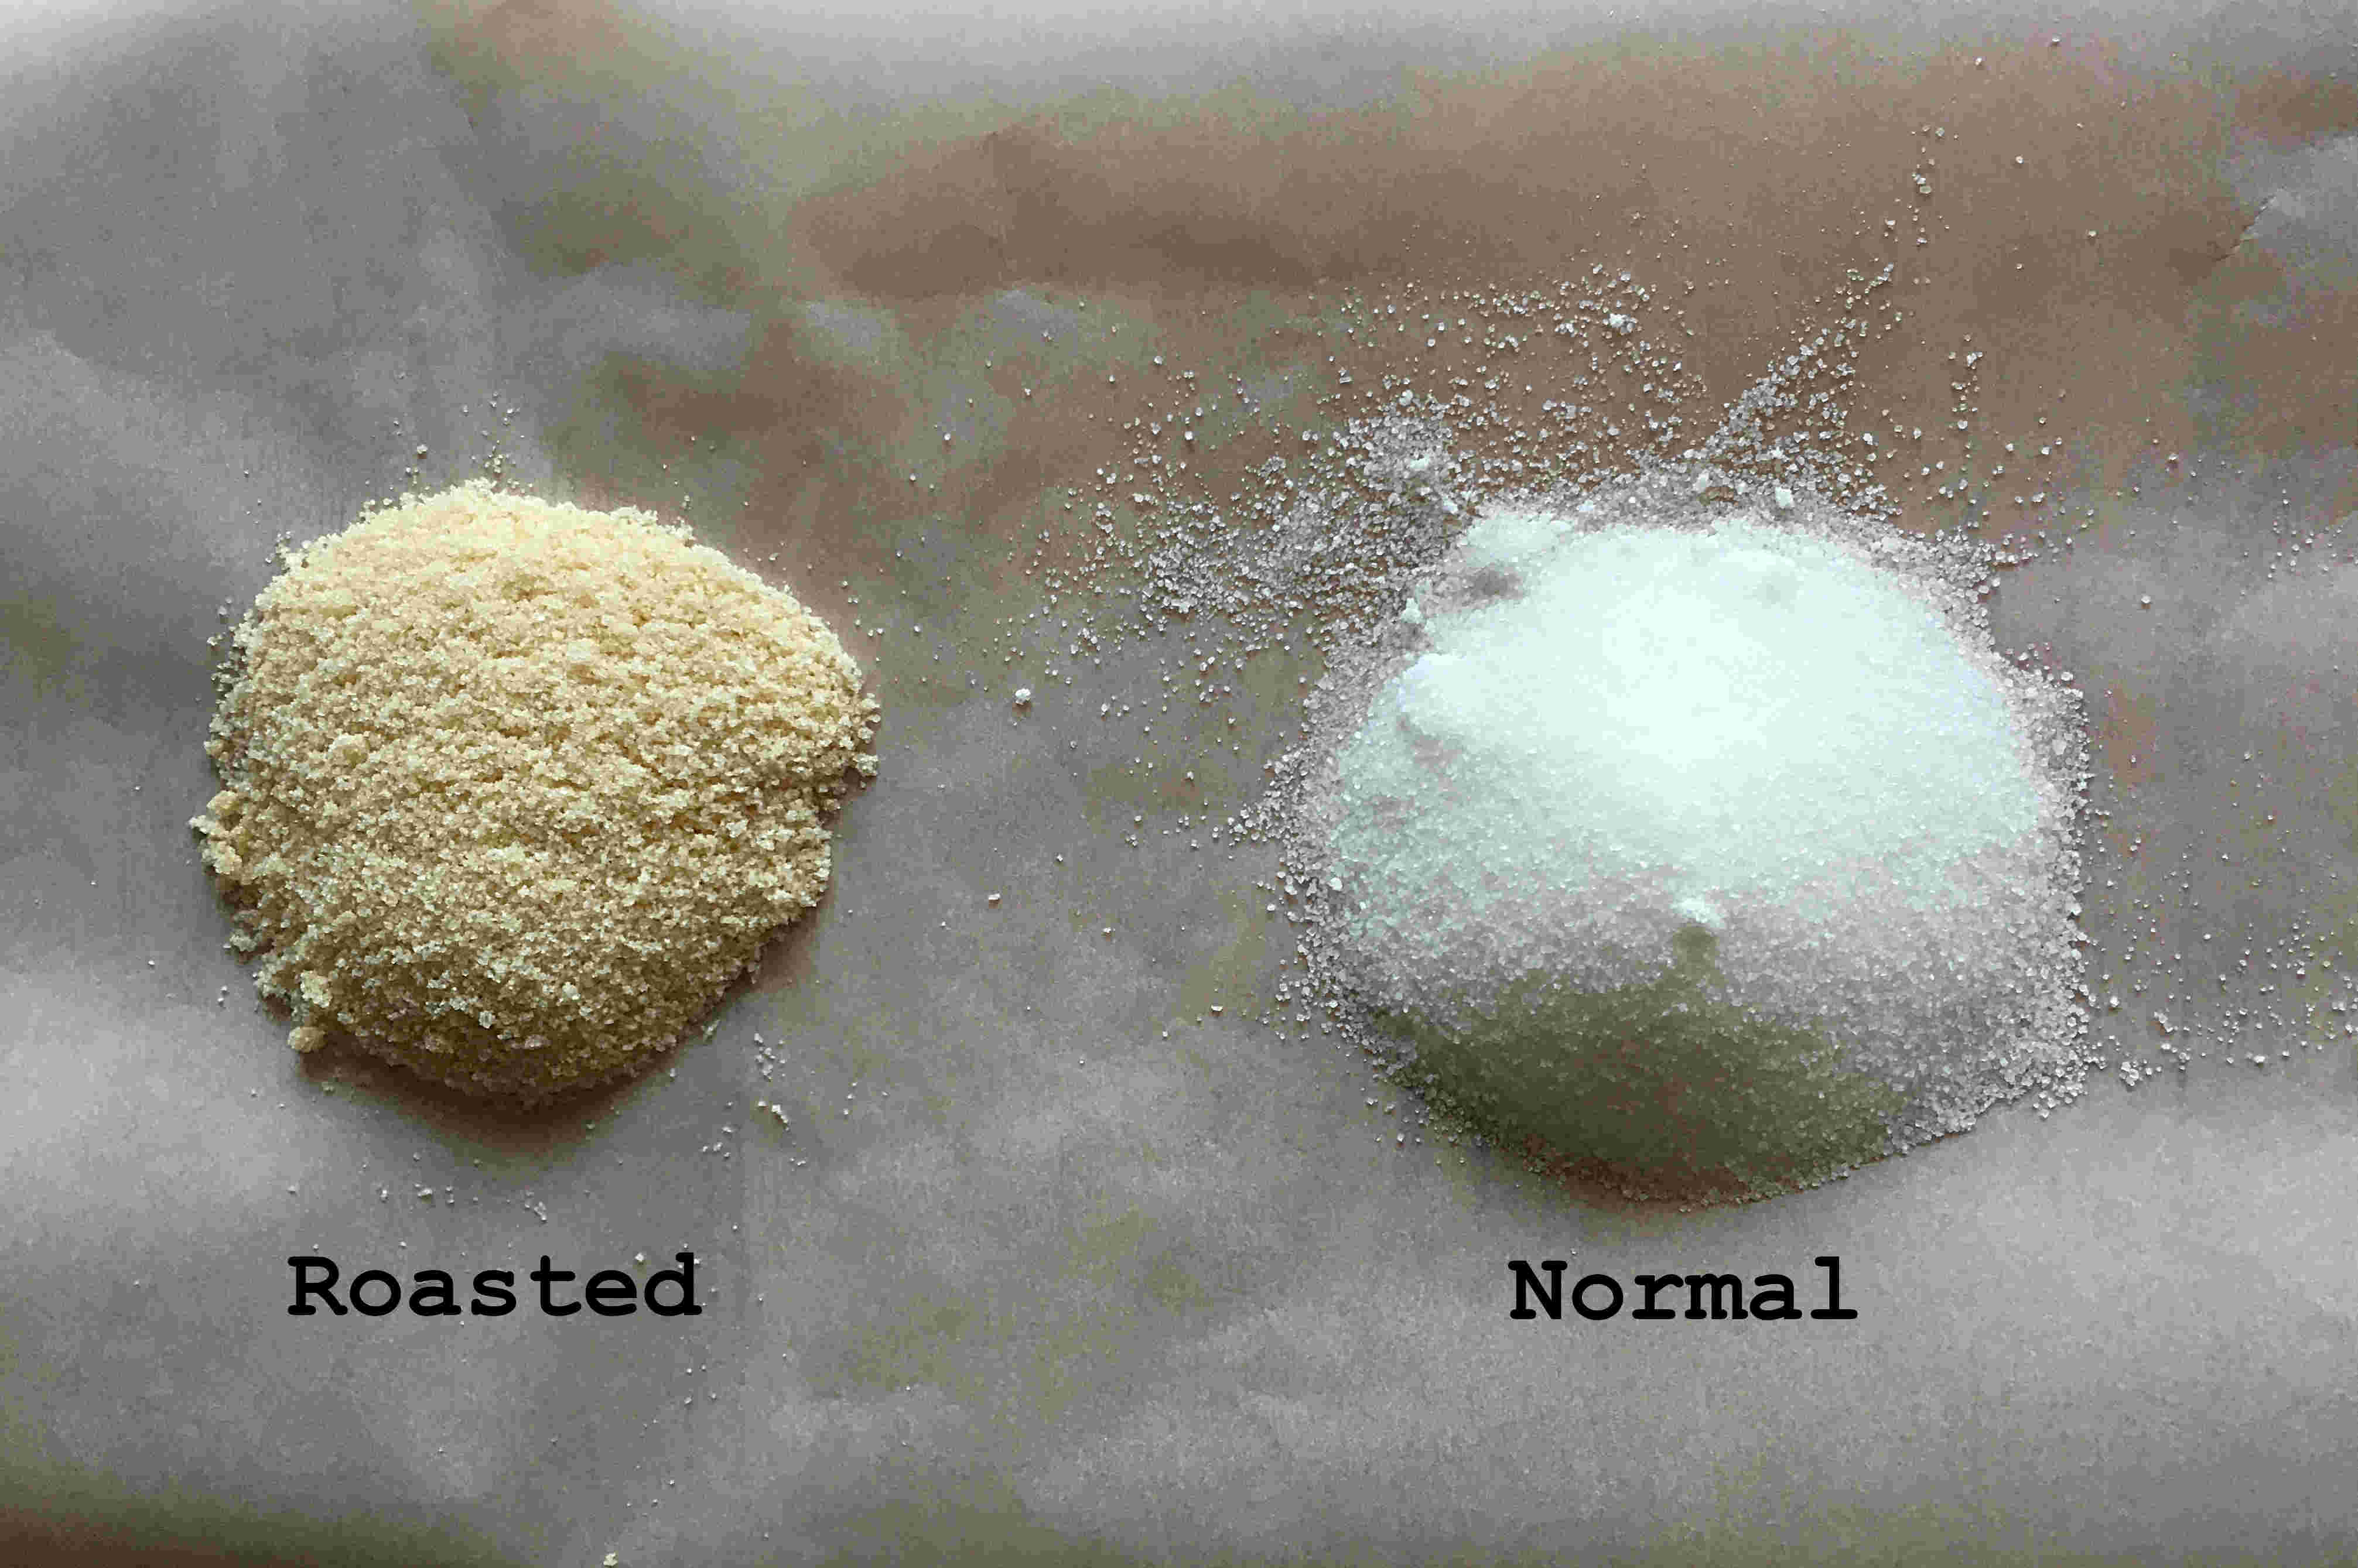
Taste-wise, the roasted sugar was pronouncedly less sweet than regular white sugar, with a distinctly mellower, nuttier, subtle caramel flavor. The roasted sugar also had a slightly coarser texture, with more clumping and larger, more irregular grains than the white sugar. Both James and I could tell the difference between the roasted sugar and white sugar in a blind taste test, although the different textures played a not insignificant part in differentiating the two.
However, how the roasted sugar fares when incorporated into recipes with other ingredients, I don’t really know! I’ve only used it to make the above Chocolate Swiss buttercream (separate post on that coming soon!), and while it was very very good, I can’t say how much of that was due to the roasted sugar. The chocolate flavor of the frosting was definitely very pronounced, as opposed to the frosting just tasting like sugar, which I appreciated. However, I feel like Swiss meringue frosting tends to taste less sweet in general, and I did buy some very good chocolate, so I can’t say for sure the same wouldn’t have happened with regular white sugar or regular light brown sugar. Maybe eventually I’ll get around to doing a side-by-side taste test (or ask the Pancake Princess to do one!). For what it’s worth, I did receive one compliment specifically on the frosting, so take from that what you will.
I will say, however, that I am excited about using the roasted sugar in more sugar-forward recipes that often tend to be tooth-achingly sweet and one-dimensional: marshmallows, Angel food cake, regular meringue. I’m also interested in making simple syrup with the roasted sugar, and using that in cocktails like old fashioneds or whiskey sours. Can you just imagine the description of this cocktail on a drink menu? Old Fashioned – Bulleit, bitters, maraschino, roasted sugar. Do stay tuned!!
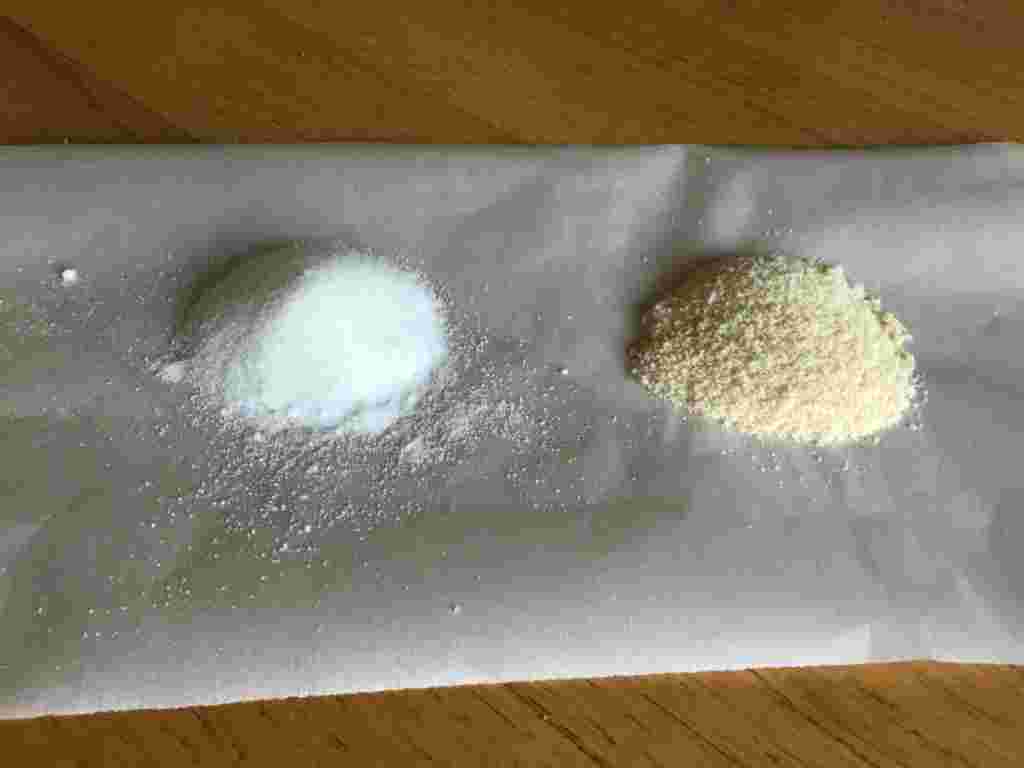
Note: The pictures of the sugar in the baking dish were taken under the stove light, which I think washed out the color in the pictures. For the true, unfiltered color of the final product, the comparison pictures with white sugar were taken in natural light and offer the best representation.
Roasted Sugar
Source: Bravetart, by Stella Parks
Ingredients
- 9 cups (4 pounds) granulated white sugar
Instructions
-
Preheat the oven to 325°F. Place the sugar in a 9-by-13-inch glass or ceramic baking dish. I actually used a smaller dish because it was what I had - around 8-by-10. As I understand it, water will evaporate from the sugar as a byproduct of caramelization, so you'd want a wider pan to encourage this evaporation and reduce clumpiness in the resulting sugar. However, my smaller pan worked fine. Also, avoid metal baking pans - they conduct heat more rapidly, which will make the sugar more likely to liquefy at the edges instead of slowly roasting.
-
Roast sugar, stirring every 30 minutes or so to evenly distribute the toastier parts of the sugar. After about 2 hours, the sugar should darken to a light sandy brown color, with a texture that is coarser than white sugar, similar to turbinado.
-
Cool sugar away from any sources of moisture or steam until completely cool. Stella says it will take an hour, but my sugar took maybe 2 hours to fully cool, plus I stirred it a few times to help release heat. The longer cooling time could have been due to my smaller pan and the sweltering Chicago heat wave. If the sugar is very clumpy after cooling, that's ok - just pulse it in a food processor until fine and powdery.
-
Store for up to a year in an airtight container at room temperature, and use in place of granulated white sugar.
Recipe Notes
Stella's recipe for roasted sugar online at Serious Eats tells you to roast at 300°F, but she specifies 325°F in her cookbook. I roasted at 325°F and was happy with the color I got after 2 hours.
This recipe can be scaled up or down to any amount of sugar, but because of the time involved, Stella suggests you do at least a 4-pound bag at a time, and I tend to agree.
Stella's tip: This technique will not work with raw or semirefined cane sugar, as its molasses content will cause it to melt at lower temperatures, resulting in the sugar liquefying and clumping.
It’s pretty hard to find roasted sugar online, especially organic, but if you know what to search for you can find it on Amazon (try searching for “Caramel Crystals” in quotes), or here is a direct option: https://caramelcrystals.com If you want to save a few hours!